Here’s a great post on how NOT to do proper edge trimming with a router.
So, I have three walls left after our latest post. Last night I decided to work on this little section…
The general strategy I was thinking for these last few walls was to leave the panel section a little long on the open wall side, then trim it flush by running a pencil along the back edge where it sticks out past the wall. Then I could cut along the line and PRESTO, the piece would be dead flush and looking perfect.
I decided to use a router to cut the line. A table saw or a circular saw will work, but it needs to be sanded pretty well after using it. If used properly, a router with the right bit will knock out both the cutting and cleaning in one pass.
Here’s how that went…
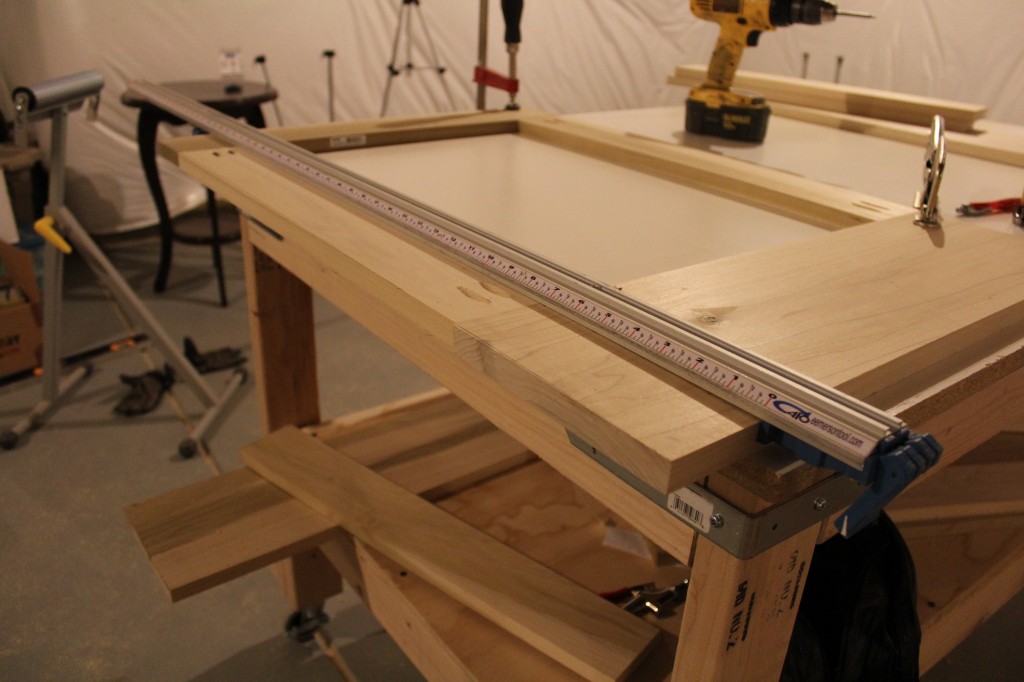
First, I clamped the marked wall panel section to my workbench with the pen mark facing up.
Then I broke out my router. This is a real basic Porter Cable model. I only have a few router bits for it and the one I’m going to go with is a regular straight cutting but.
The router bit gets inserted into that nut and then can be screwed into the router. The length that the bit extends from the router is adjustable and I set it to be longer than the thickness of the board I’m machining, which is 3/4.” It doesn’t need to be set at 3/4.” It can be set at anything longer.
Now that the router is good to go, I’m going to setup a straight edge for the router to ride against. This is basically the same idea for a circular saw. You need to know the distance from the edge of the router bit to the end of the router base. Looks like 2 5/8.”
Okay, know that I know that distance, I start making marks 2 5/8″ away from the existing line on the panel section. I use those marks as a reference to install a straight edge. For the straight edge, you can use anything. I’m using a special straight edge tool that locks into place, but you could just as easily use a level or a straight piece of wood and a couple clamps.
a href=”https://ourhomefromscratch.com/wp-content/uploads/2012/06/IMG_3905.jpg”>
So, now I’m basically ready to turn on the router and start cutting. Do you see where I’m going with this? The router just glides along the edge of that bar and cuts into the marked line.
So… that went well for about five seconds until the router bit fell out because I didn’t tighten it well enough. Oh, and right before it fell out, it slid around in the chuck and totally mangled this piece. Big old divits. Great.
So, when things get tough, the tough throw out the old piece and just make a new one. This time I skipped the whole make it longer and trim it. I just decided to make it as close to the actual wall length as possible. Came out fine.
So, I think the lesson learned here is to not over think this project too much. AND if I do decide to over think it, make sure the damn router chuck is tight first.
Any lessons being learned on your end recently? Are they unpleasant and filled with sawdust?