Hey everybody! Thanks for stopping by our Pinterest Challenge post! We’re very excited to be sharing with you a project that was a lot of fun for Lisa and I to work on together. If you haven’t been following along lately, we’ve been making built-ins for our sitting room and have been pinning some cool ideas to dress up the room once it’s done. One of those pins I thought would make a great DIY project is a reclaimed wood frame.
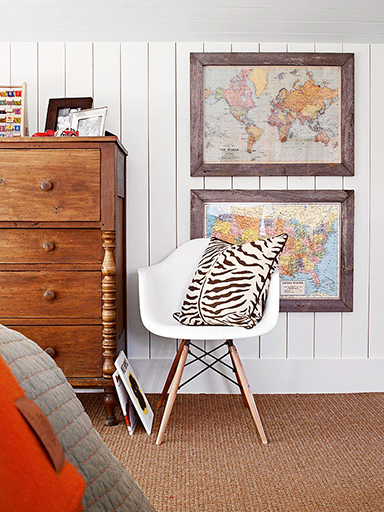
Here’s the original pin:

(via Better Homes and Gardens)
Here’s our version:
Not too shabby. Since this project involves an arts and crafts portion and carpentry work, we’re breaking the “How-to” into two posts. In a day or two, we’ll show how to do the woodwork in a follow on post. Today, we’ll discuss the map and the general overview.
So the original pin had two beautiful, blue maps, one of the world and the other of the US. Since this project was sort of under the gun, we didn’t really spend a ton of time searching for maps online. We discussed using a map of Paris, where we honeymooned, as our first choice and luckily, I was able to score one for around $8 from Barnes and Nobles. Bigger bookstores have a decent map selection, but the challenge is finding one small enough, since most are enormous. A small Jersey map would’ve been fun too.
Lisa had the idea to mod podge the Paris map to a poster board to keep it stiff. We picked up the poster board for $.50 from the Dollar Store.
With the mod podge applied liberally on both sides of the map and one side of the poster board, we slapped the map onto the board. We used a credit card to smooth out the folds and force out the mod podge. The poster board was then cut to size using regular scissors.
To further support the map in the frame, we cut out a thin piece of plywood 1/4″ thick. The map and poster board will get squeezed into the frame with this thin plywood.
The reclaimed wood was bought from Manayunk Timber in Philadelphia and I only paid around $15 for a 6′ long board. The species is yellow pine and the board I bought was originally part of a barn that was built in the 1860’s. When the barn builders cut down the tree in 1860, it’s likely the tree was somewhere between 200-400 years old at the time. That means this board may well be from the 15th century!
The board was cut down to size on my table saw and I added a rabbet to one edge so the plywood backing and map would sit inside the frame. Then it was just a matter of making some miter cuts, gluing and nailing the frame together. I didn’t sand, or poly it. It’s “as is”. I’ll go into greater detail on how exactly I made the frame in our next post.
To make the frame hang-able, I added an alligator clip on the back and used one of those gorilla hooks to place it on the wall. For the meantime, the frame is on the same wall where our built-ins will soon be located. We’ll probably move the frame to the couch wall sometime soon.
What I really like about this frame is the character of the wood. Every square inch of this frame is interesting.
Overall, this project cost us about $23 since we already had the mod podge and tools to do the job. Not bad. We didn’t permanently attach the map to the frame either, so we may end up swapping that out at some point if it clashes with our room decor.
Looking forward to checking out everyone’s projects!