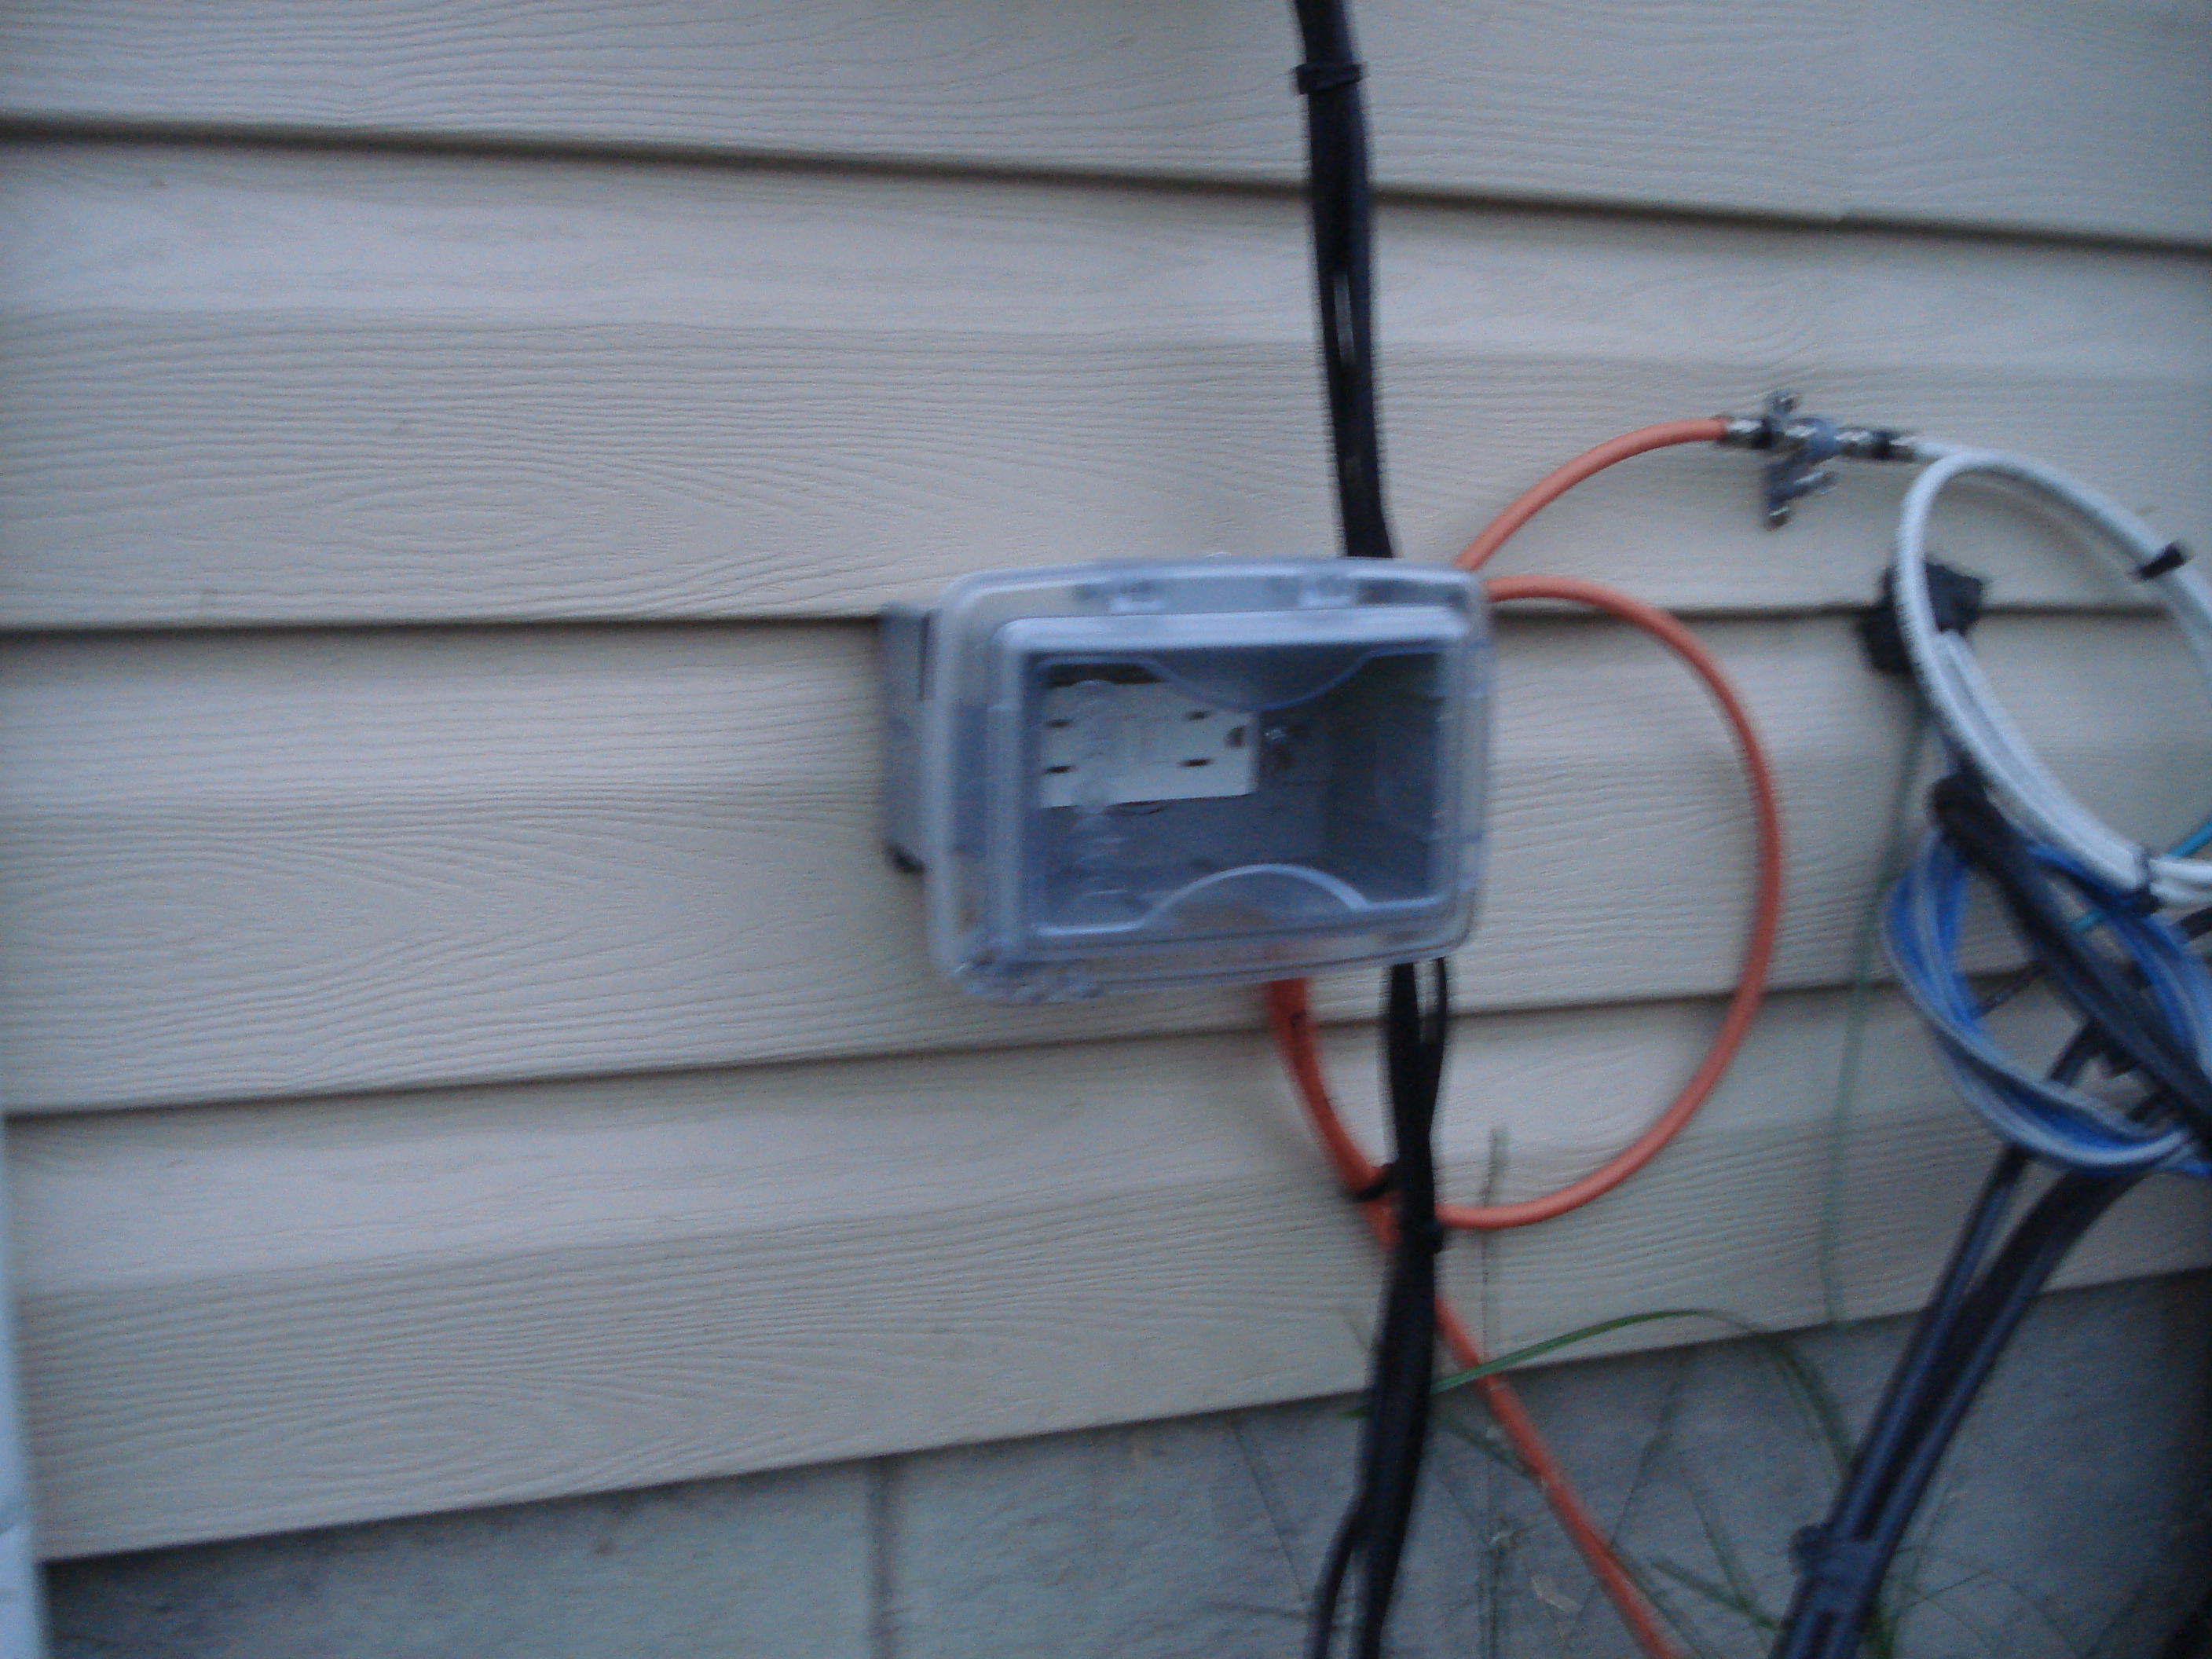
In this post, we are going to get close to finishing up the last few loose ends of our landscape lighting project. To wrap up this job, we’ll install an outdoor outlet to the side of the house to provide power for our transformer. Bye Bye extension cord.
Very first thing: Pull a permit. If your city or township will allow you to do electrical work, there’s no excuse not to pull a permit. It took about five minutes to do the paperwork and about a week for my permit to be approved and it only cost $36. Once I’ve completed the work, I’ll call the construction office at my local township and they’ll send over an electrical inspector to examine my work. Even if you are a skilled DIYer and you know you’re doing it right, getting a permit gives you and future owners peace of mind knowing that all electrical work was done to code and inspected.
First, we’ll take a look at the exterior setup, identify a general area where we’d like to install the outlet and then look for something on the outside that penetrates into the interior of the home that we can use as a reference. For this job, I want the outlet to be right below the transformer. You can see the large power cable to our house penetrates the siding about two feet to the right of where I’d like the outlet. I’ll be drilling a hole from the inside of the house and all I have to do now is locate the main power cable and drill a hole two feet to the right of it (inside looking out).
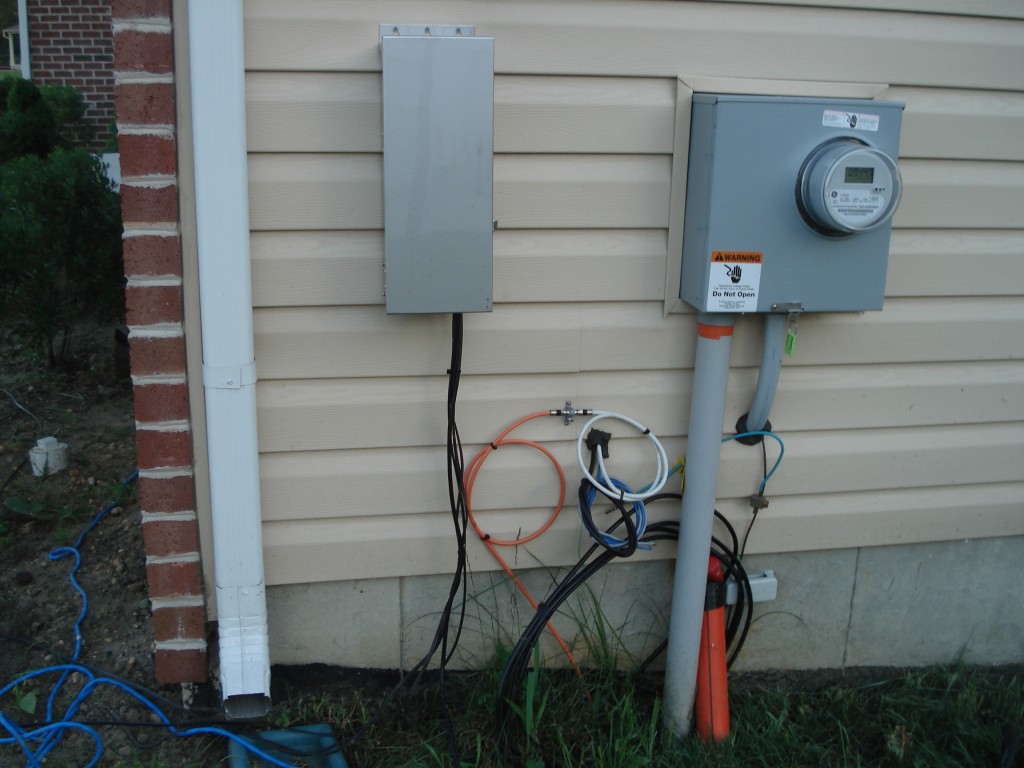
The transformer and the electric meter. Notice the large 200 Amp cable penetrating the house right below the meter. It's the large one with black putty around it.
Once we’re in the basement, I’ll look for that 200 Amp cable and mark a spot about two feet to the right from it. I’ll then use my cordless to drill a small 1/4″ diameter hole through the wood to the outside. The point of this small hole is to provide an exact location point from the outside.
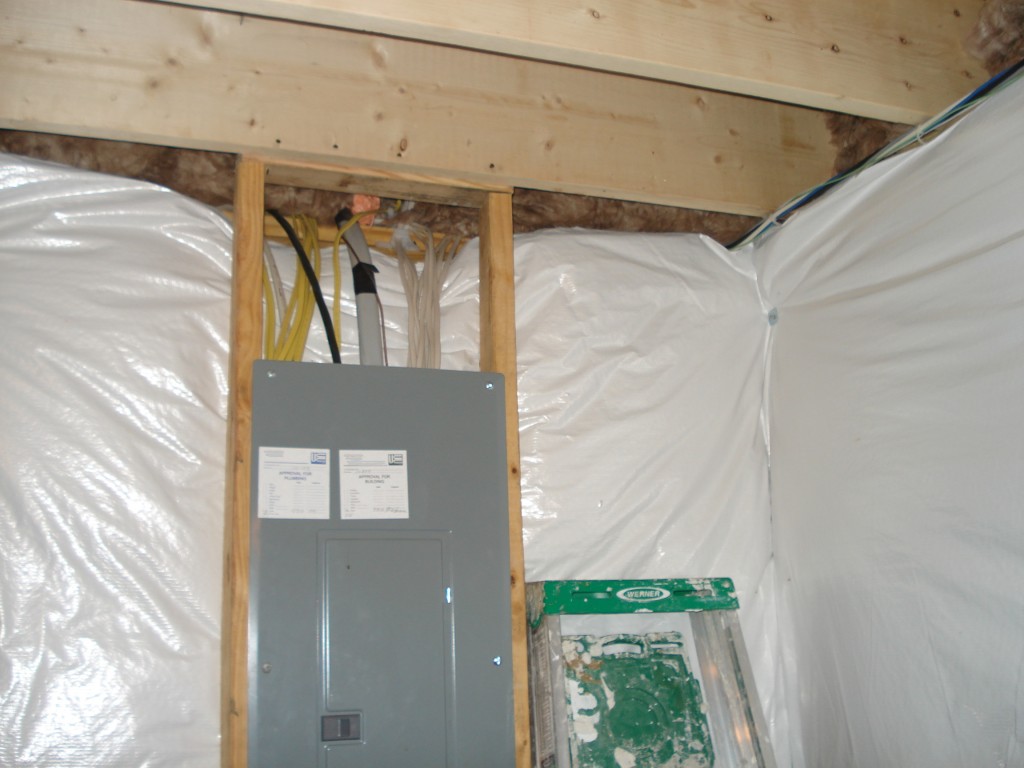
The 200 Amp cable is above the breaker box. I'll move the insulation out of the way to the right. Be sure to use gloves, insulation is itchy.
Now that a small hole is drilled from the inside, I know where to drill the larger hole from the outside. Drilling it all from the inside works too, however, you may end up with torn siding. By drilling the final hole from the outside, you ensure the siding won’t tear. The inside of the house will get a little more banged up, but since it’s in a piece of structural wood that no one sees, it doesn’t matter.
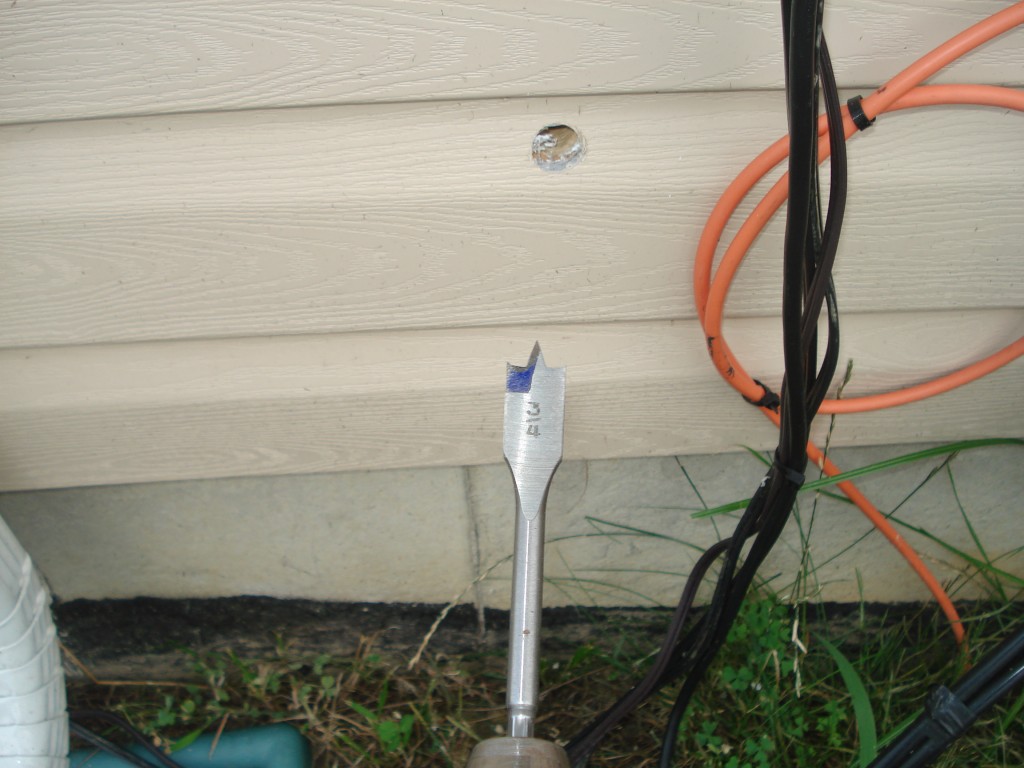
I used a 3/4" spade bit to enlarge the hole big enough so that a 14 gauge cable can pass through it.
Now I’ll push the wire outside from the basement.
Now I’ll prep the electrical box that will get screwed to the house. I picked a whole exterior outlet kit for this job at the box store that includes everything you’ll need excluding the wire. It also comes with a Ground Fault Circuit Interrupt (GFCI) receptacle. You’ll absolutely need to use a GFCI outlet for anything outdoors (or near water like kitchen sinks, countertops, vanities, etc). If a GFCI outlet detects a ground, it automatically kills the power to whatever device is plugged into it. Thus, if the outlet were to get wet from rain, it wouldn’t hurt anyone, it would just trip off.
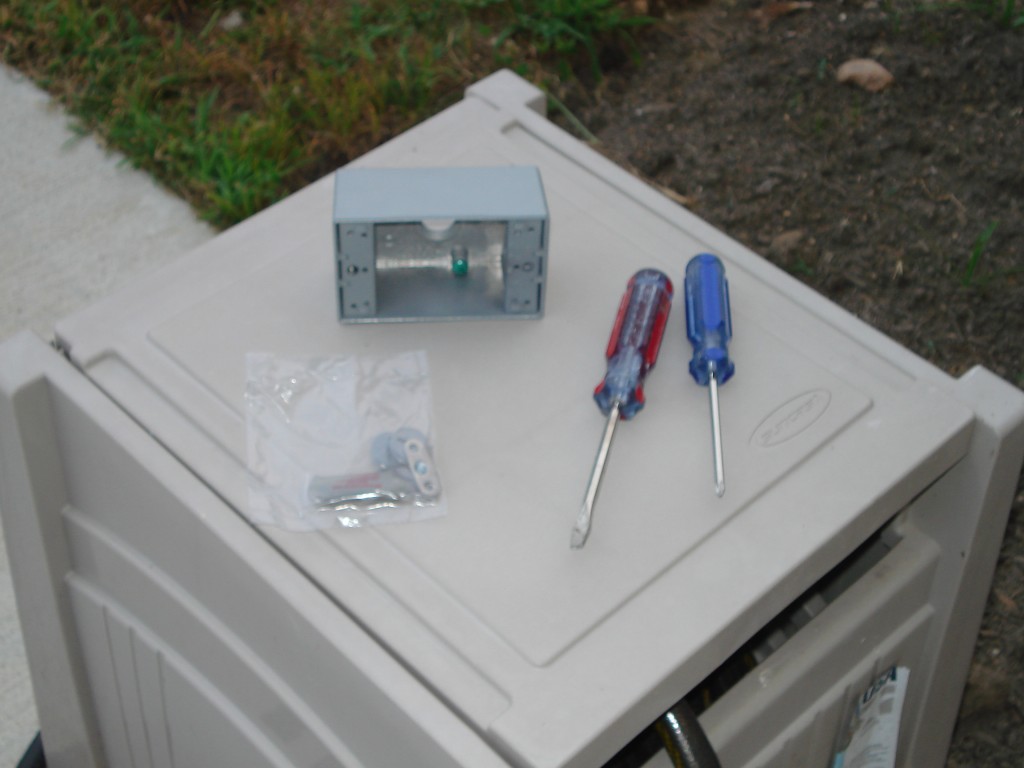
The eletrical box needs brackets to be screwed into the back depending on how it'll be mounted, horizontally or vertically. I'll be mounting mine horizontally.
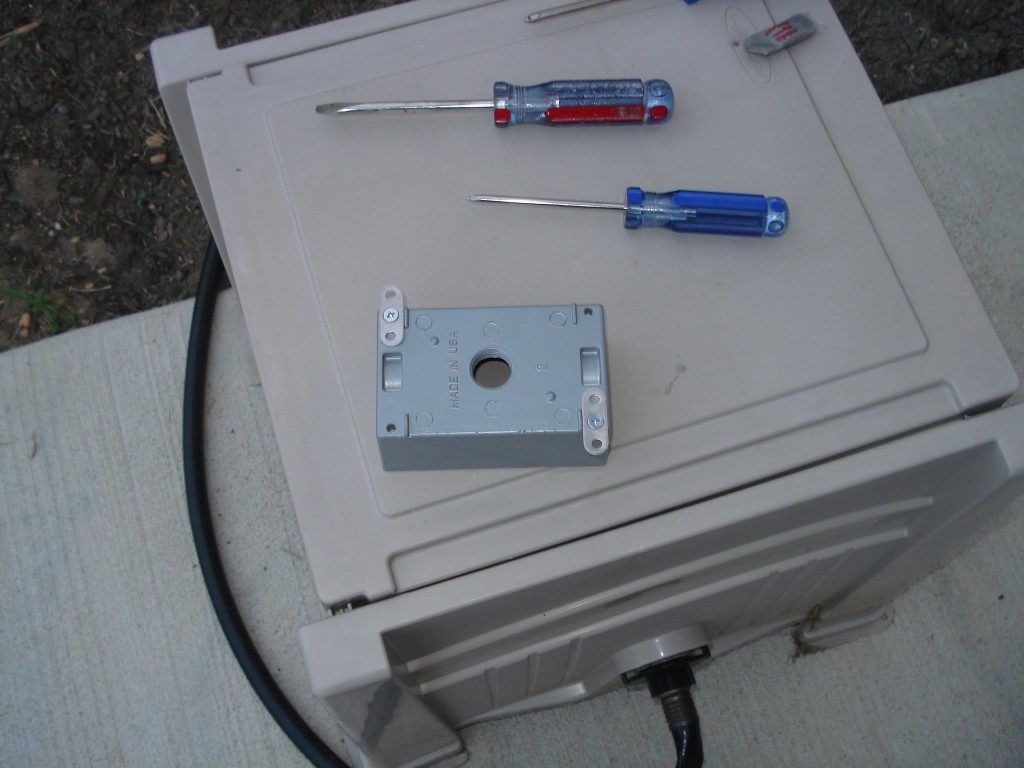
Mini brackets in place. Took a little elbow grease. The box also has three holes which can be used to bring the wire into the box. I'll be using the back one. The other two get plugged.
Now that the outlet box is prepped, we’ll screw it into the house. Pull the wire through the hole in the back and center the box’s hole over the drilled hole and screw it into the house using two exterior grade screws. Strip off the wire’s outer insulation and then strip off the insulation from the black and white wires.
At this point you can either hire a professional electrician or follow the manufacturer’s instructions that came with the GFCI outlet. Good luck!
The outer box comes with a clear access lid. This also can be installed horizontally or vertically depending on the box. The outer box simply slips over the box’s screws that were left long. Once slipped into place, the screws are tightened down.
Now that the outer cover is on, pop on the clear cover and the hinge screw. Before we wrap up the exterior portion of this job, caulk all around the perimeter of the box where it meets the house with clear or colored exterior grade silicone caulk. The caulk will stop water and insects from entering the box and the house.
One more thing, the outer cover has a break away piece of plastic that allows a cord to be plugged into the outlet and still lets the lid close. Now would be a good time to crack that off.
Next time we’ll finish the job by installing the breaker.
Disclaimer: Our Home from Scratch is meant to be an informative website detailing our adventures through home improvement projects. While these projects are often instructive, they may contain mistakes or errors. This website should not be used as a sole source of technical information for home improvement projects. Any projects attempted similar to those depicted on this website should be done with the aid of professionals and with the utmost caution. Always follow local building codes. Neither the operators nor owners of Our Home From Scratch website assume any liability for any injury, death or damage resulting from attempting something seen on this site.and the transformer timer.