Now that the outlet has been installed on the side of the house and caulked, we can start our work on the breaker panel. Before I started this portion of the job, I purchased a new 15 amp breaker from the box store. A 15 amp is appropriate and necessary because the wire I used is a 14 gauge cable capable of 15 amps. Had I used a 12 gauge wire (these are often yellow), I could’ve used a 15 or a 20 amp breaker, because these wires are rated for 20 amps.
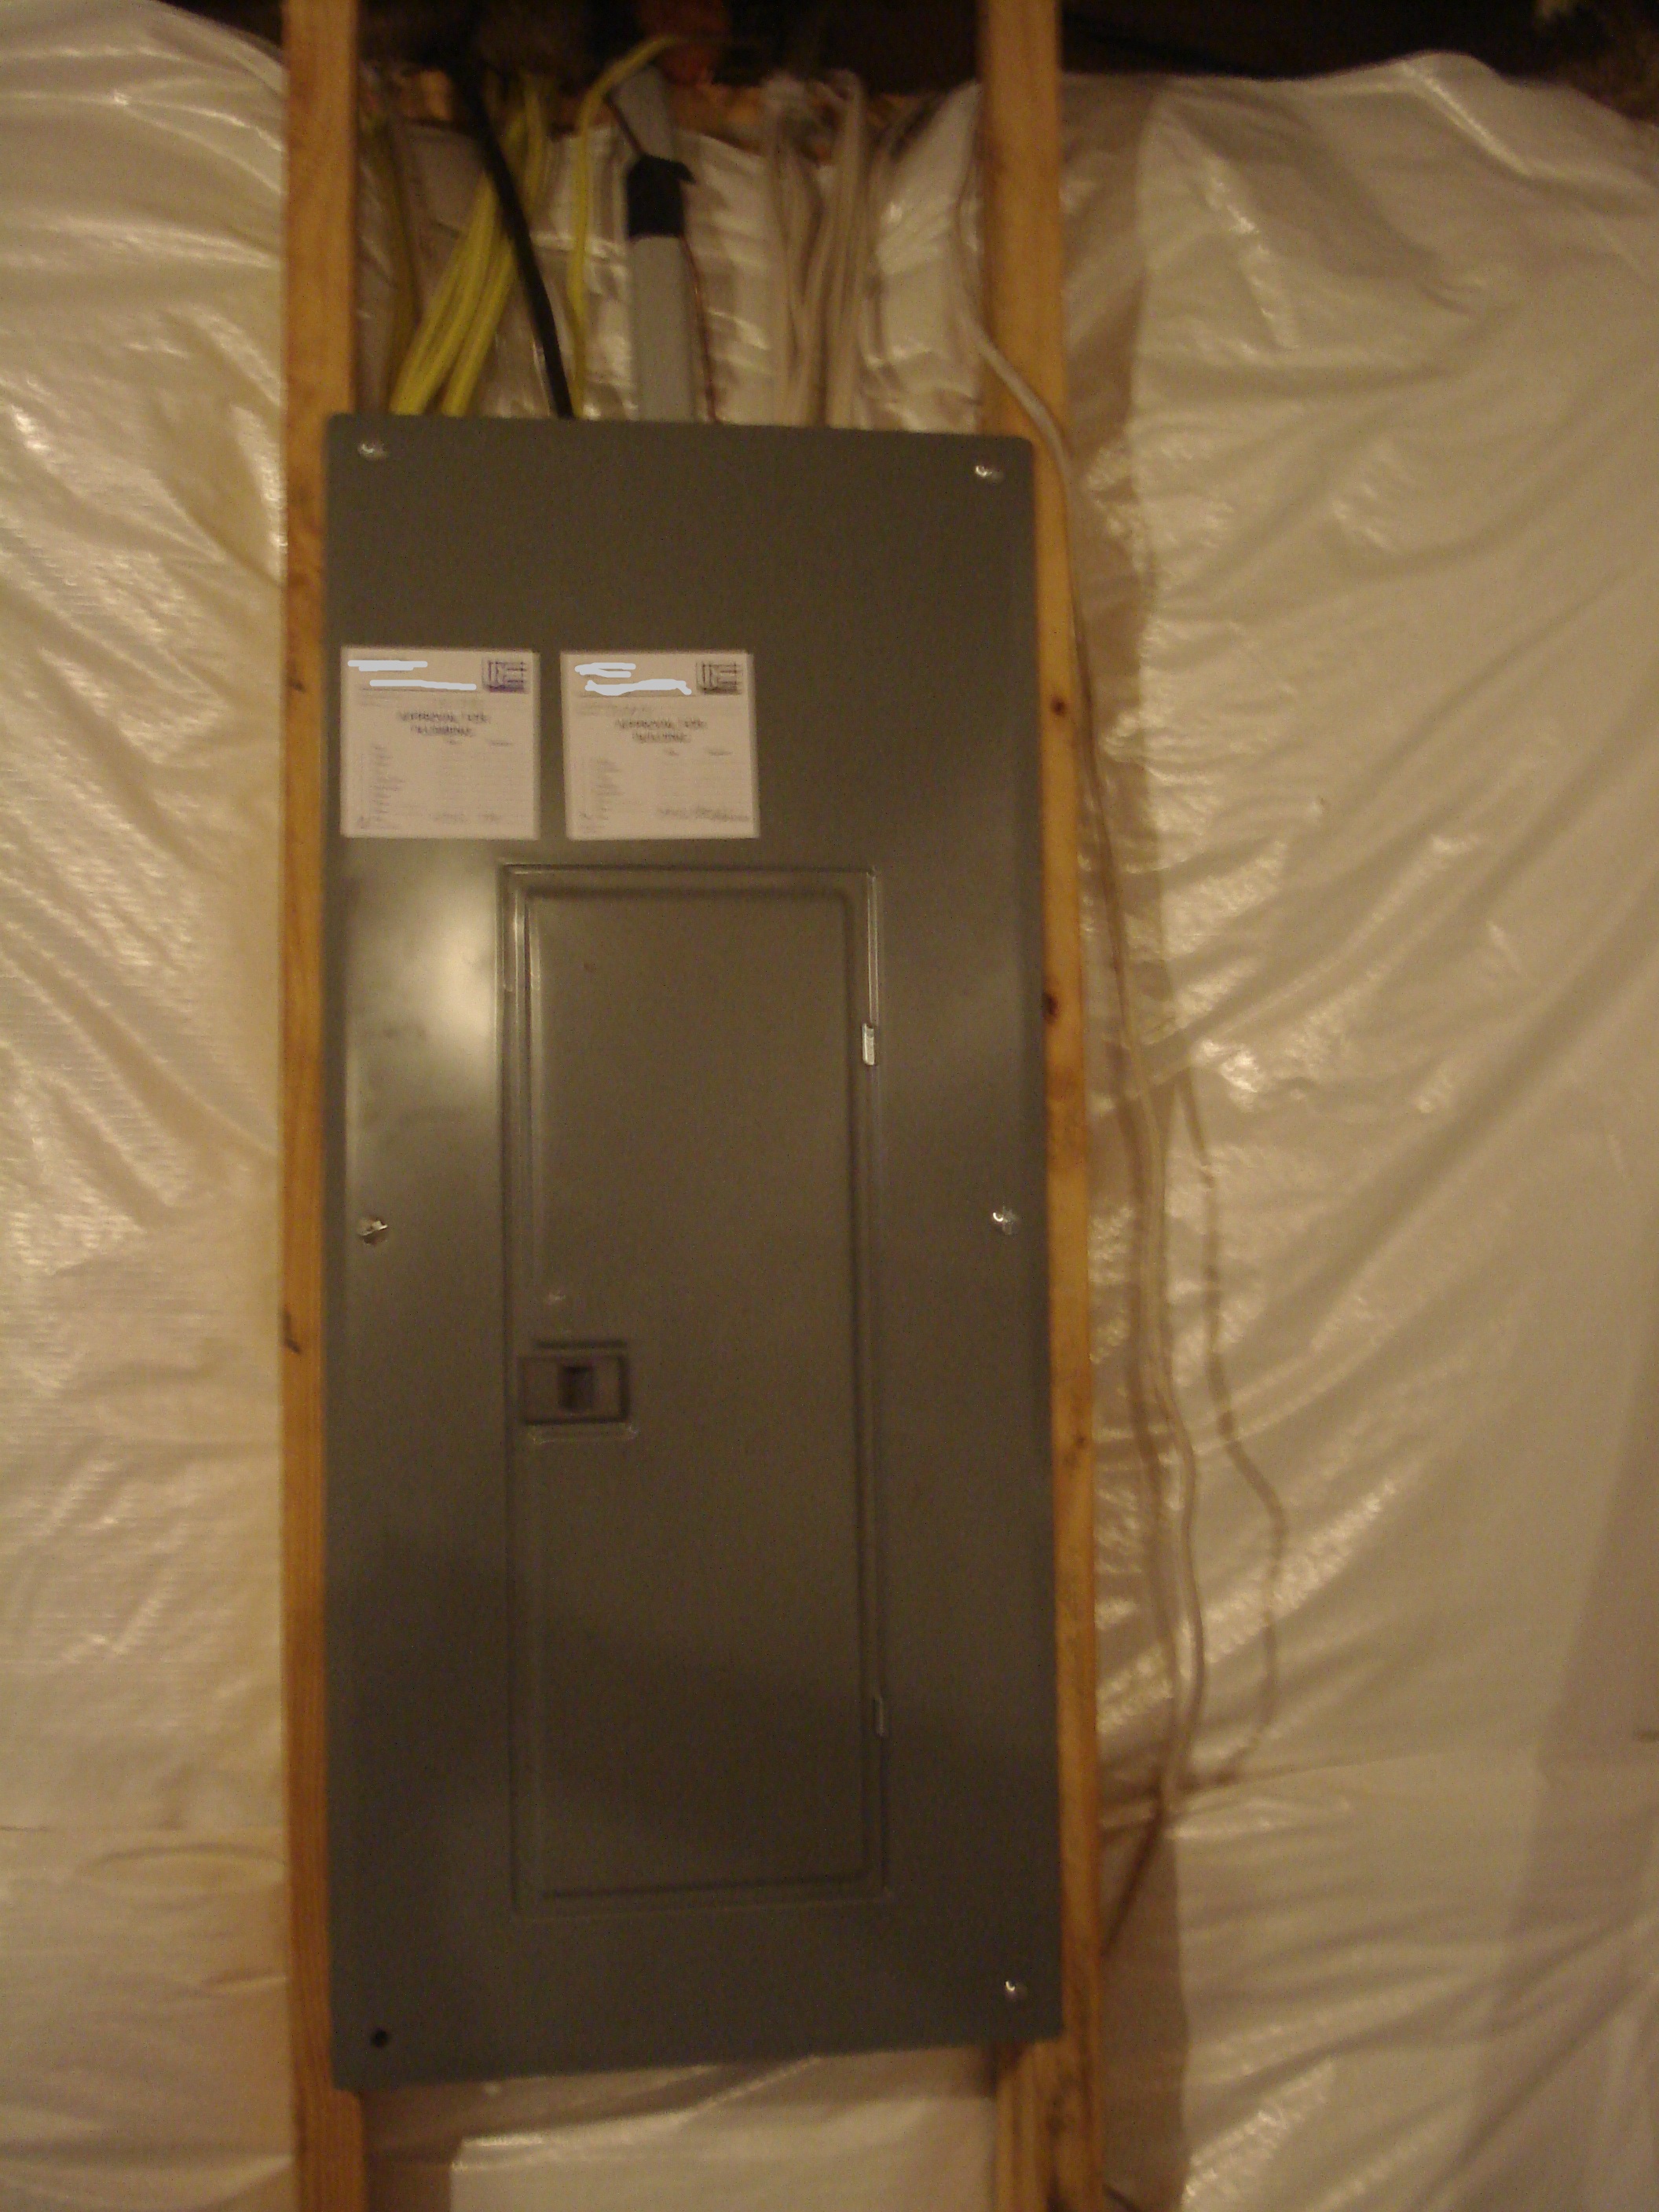
My breaker box is manufactured by Square D, this is important to know because the new breaker needs to match the breaker box manufacturer or it won’t fit up properly. Be sure to keep the breaker panel area well lit and tidy while work is being done. You certainly don’t want to trip or misplace something during this part of the job.
WARNING! Electric panels not only have a dangerous level of AC voltage, but the amps inside the box make it that much more dangerous. If you touch a conductive surface inside the box you could be seriously injured or even killed. There’s nothing wrong with saving this part of the job for a professional electrician.
If you’re interested in seeing how it’s done, refer to some YouTube videos because I’d rather not get into it here. There’s too much to go over in terms of safe practice, so I’d rather not show it at all.
Once your breaker is installed, you’re pretty much good to go. Oh and installing an interior outlet isn’t that different procedurally from an exterior outlet install.


