Ever have one of those weekends where you plan to do a couple simple, well planned chores and despite all your efforts, you don’t finish either one? Well, I had one of those weekends. I planned to start and finish two projects, the first one, which I’m writing about in this post is the flower bed on the OTHER side of the house. The garage side of the house, I finished here. The second project is a bed crib side table for our baby. I’ll write about that project in a day or two. The flower bed is all done except for the fabric, mulch and drip nozzles, but I’ve done a few posts on the stuff already (here, here and here), so I’ll just stick to the meat and potatoes and show you the grasses and shrubs we picked.
Here’s what I started with…
Lisa and I did the trick with the garden hose to get the basic flower bed layout down. I wanted to have the new bed flow seamlessly into the side. I had originally planted that Japanese Silver Grass there to try to hide the electric meter and the landscape lighting transformer, but it hasn’t held up too well. The other couple shrubs there were simply placeholders since at the time, I had an excess of plants, but a shortage of places to put them.
Once the flower bed was edged, it looked like this…
At this point, I was ready to install the plants. But, then there was an incident with a snake. Between me and the shed, I ran into a 3 foot long black snake. The snake was chilling in the grass with it’s head up and it’s forked tongue darting into the air. I’m pretty sure (not really sure at all actually) the snake was a Queen Snake due to it’s coloration.
So after throwing a garden hose at the garden snake, it slithered away into the high weeds that border our property. Crisis averted.
Now back to the shrubs.
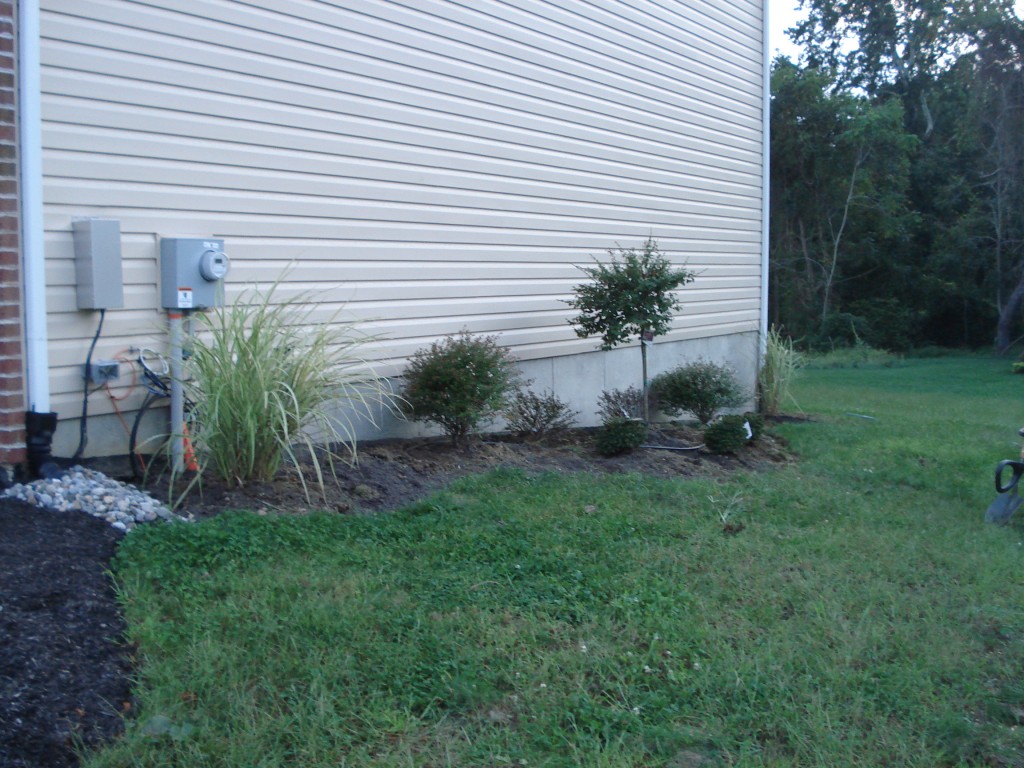
Lisa and I wanted to put a tall plant at the widest point of the flower bed to give some depth and height to the side of the house. The easiest way to do this would be to throw a tree there, but we weren’t really interested in a tree. Something about the long term worry about the size of the tree and the foundation. So this is what we did instead…
That tall plant there is a Razzleberri Fringe Flower and it’s not a tree, it’s a shrub. It’s been groomed to look like a tree through regular pruning. It’s tied to a stake to keep it straight, which it will need for another few years. I also replaced the grass with a more full, healthier version and relegated the other grass towards the end of the yard near the downspout. The small shrubs in front of the fringe flower are Norway Spruce.
Not done yet…
I have a nice full shrub to the left of the fringe flower, which was there to begin with and I wanted another one to balance the bed out, so I had to rob Peter to pay Paul and took one from the side of the shed. The photo above shows it planted on the right of the flower. I also added two crimson pygmies behind it that I had pulled from the front of the yard a while back. They weren’t holding up well to the summer heat and the direct sun, especially since I hadn’t yet put in the drip irrigation system. They did alright back in their pots. Right now they look pretty bare, but I’m hoping a north facing flower bed and regular watering will perk them back up.
 So how was your weekend? Did you get done everything you wanted to?