When I got home from work, I didn’t expect to be writing this post. I was hoping to finally write a celebratory post about our sliding drawers. Not surprisingly, it remains unresolved pending some hardware I need to ship back and exchange for what is hopefully the last pieces I need.
So, not having a planned post to write, I decided to write something about my first home’s old door. I was always planning on writing something up about this anyway, but for the life of me I couldn’t find any photos of the front of the house right before we sold it. Why is that so important? Well, I didn’t really finish this project until then. You could say this one really hung around for a while. A couple days ago, I bumped into a picture of the finished door in a random folder on our hard drive. So, now I can better illustrate this process…
Here’s the story of the door:
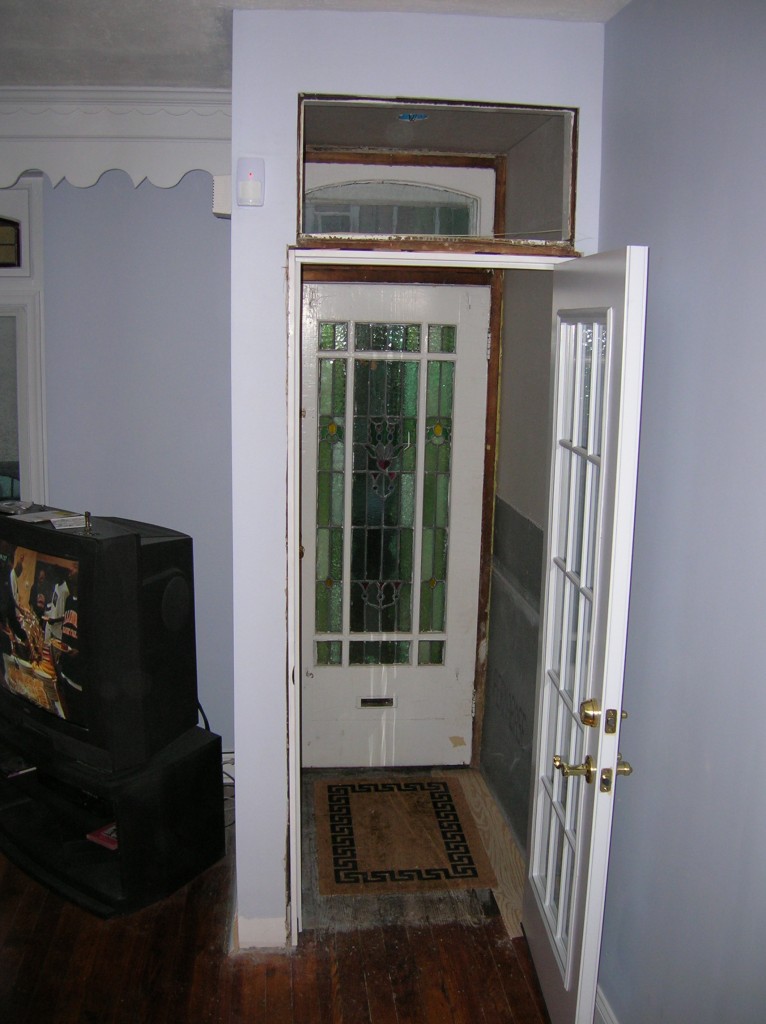
I bought my home back in 2003 a couple years before I met Lisa. The entry door was a stained glass piece (I actually mentioned this before in a post here) that was in need of a major overhaul. Not sure if it was original to the house, but if it was, that meant it was 100+ years old. The entry actually had the outer stained glass door, then there was a small vestibule followed by an inner door. The original owners had added a screen door over the outside of the entry and judging by it’s condition it was probably there since the Kennedy administration. One of my first acts as king owner of my new home was to rip that nasty screen door off. Under the screen door was the original exterior molding that ran up and down the outside of the doorway and over the arch. Not really sure of how I’d replace it, but knowing it had to go, I ripped all that trim off.
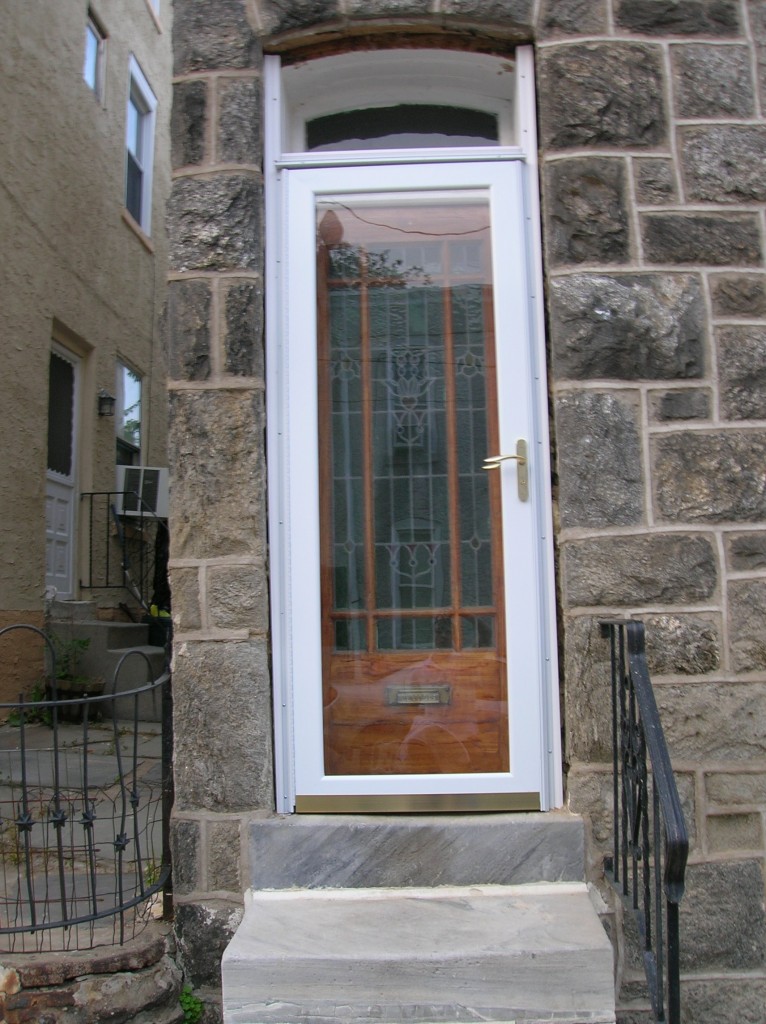
The exterior photos above show the original door with the trim ripped out and the side panels exposed. I filled the space between the panels and the masonry with some expanding foam. Couldn’t hurt right? To correct the molding situation, I used a simple PVC brick molding that you can pick up at any home improvement store. The brick molding is very similar in look and thickness to the molding I had just ripped off. To add to that, I also installed a full light, brand new storm door.
Looks good right? Much cleaner. The space between the door molding and the house ended up getting filled with some regular mortar to give the appearance that the door was mortared into the house. I just used a basic baker’s style piping bag to get the mortar into that crack.
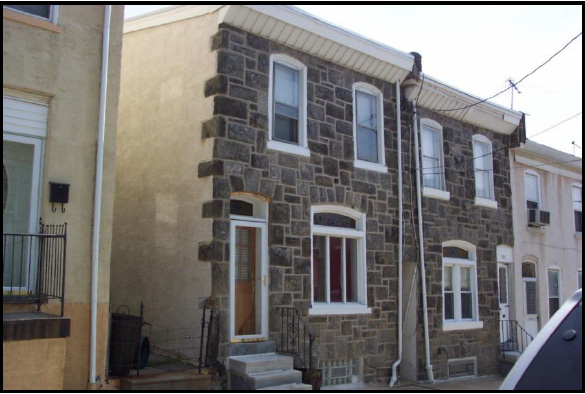
The last photo above is how the house looked for about two years. In 2005, I replaced the stained glass door (but kept it in the basement) with a standard six light solid wood door. The lock in the old door had started to fail and you could literally push the stained glass section right through if you wanted to break in. You can catch a glimpse of that new door in the next photo..
In 2006, I tried installing a piece of flexible crown molding onto the top of the arch. It didn’t go so well. The crown molding ended up being too flimsy. To correct that issue, I filled the space behind it with expanding foam. The foam disfigured the molding, so I ripped it down. Back to the drawing board.
For three years, the door and the arch sat. Admittedly, I had other things going on in my life during that time. I got engaged. My dad got sick with stomach cancer and passed away. We gutted and refinished the interior. We got married. Occasionally, I’d call a carpenter to drive by and give me some ideas of how to get this arch finished. Never had any luck.
After a while, I remembered that the old molding had a small corbel on each side of the arch. I thought that if I could make my own corbels, then maybe I could find some crown molding to butt into them. To make the corbels, I glued three pieces of poplar together. Since the corbels needed to sit on the brick molding, they needed to be as wide as the brick molding. If I remember correctly, there were two pieces of 3/4″ and one piece of 1/2.” Once the glue cured, I drew the outline of the corbel onto the wood and cut the design out with a band saw. The corbels were sanded, primed and spray painted with an exterior grade paint. I used some construction adhesive and a finish nailer to fasten them in place.
The crown molding piece I ended up getting was similar to my first attempt. Although this time, I bought a profile with a solid back. The solid back makes the piece considerably easier to glue and fasten. You can see the comparison in the two photos below.
The crown went in pretty well. I was able to order the crown with a pre-made radius that matched my arch and all I had to do was cut it to length and paint it. It was also glued and nailed into place.
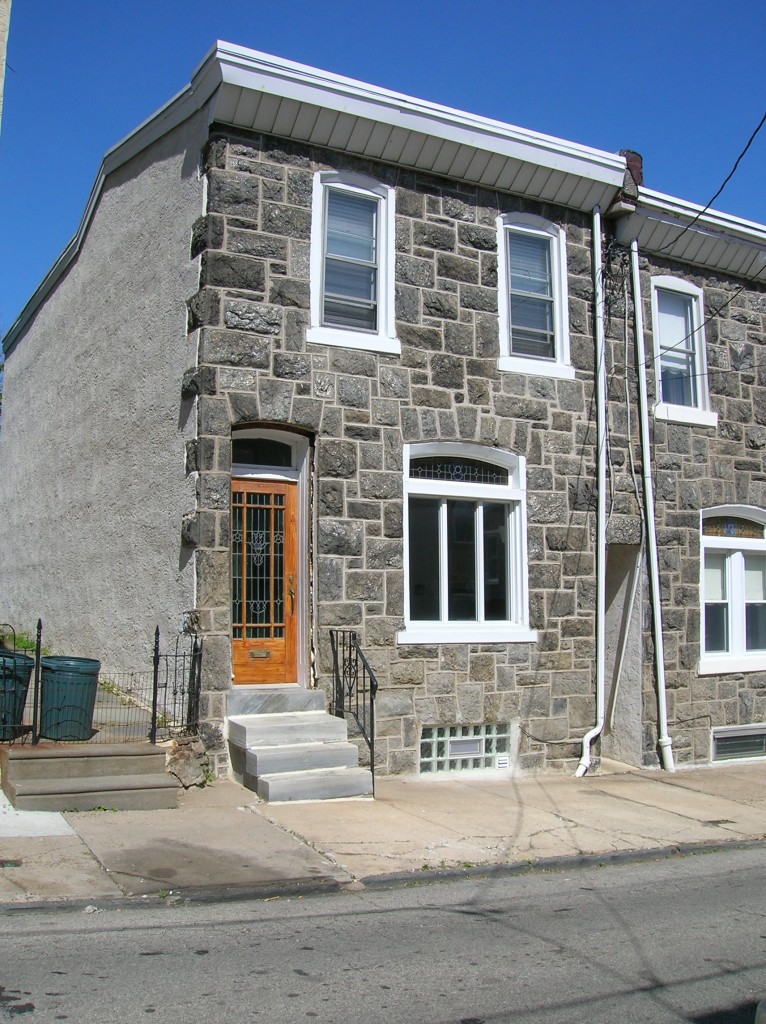
So, here’s the photo of the finished door. It appears as though I hadn’t quite finished the mortar on the sides yet, but we did before we sold it. This photo wasn’t taken with the intention of being a shot of the archway, so it is what it is….
Hey, you can actually see that stained glass transom we had made too. Nice!
So that’s my door story. It wasn’t until I finished up this project that I knew I was really done with this house and felt ready to move on. It had been hanging on unfinished for such a long time that wrapping it up almost felt like a thesis or a graduation. Completing it required the skills I had picked up from every project I tackled as well as the lessons I had learned from earlier mistakes. Major symbolism going on here if you can’t tell. Once that door wrapped up, there wasn’t much left to do. I finished this project only a couple months before we listed the home.
Is there any project that’s racking your brain that you keep putting off? Does it represent your life in some weird symbolic way or is that just me??