We hope everyone is managing to stay cool during this little East Coast heat wave we’ve been having. It was supposed to go up to 100 F yesterday! I love the summer, but I’d rather be a little cool, than a little hot, ya know. We have a blow-up pool we’ll be setting up for the baby, which I’m really looking forward to.
With this hot weather in mind, Lisa finally was able to talk me into installing a couple ceiling fans in our spare bedroom and the baby’s playroom. The playroom isn’t quite where Lisa wants it yet, so a post on that room will be forthcoming, but not quite yet. However, we can show you our guest room.
The bed is a queen sized MALM from Ikea. I bought it for myself right after college. It was a huge improvement after sleeping on a twin sized mattress on the floor of my fraternity house! After we got married, we kept this bed for a couple years, until we moved into our current house and bought a new one. That’s also our bedspread we had when we first got married. Actually the whole set it the from when we were first married. I only had the bed, then we picked up the other two pieces. I don’t believe they are from the same set, but, it’s white lacquer from Ikea, so it’s close.

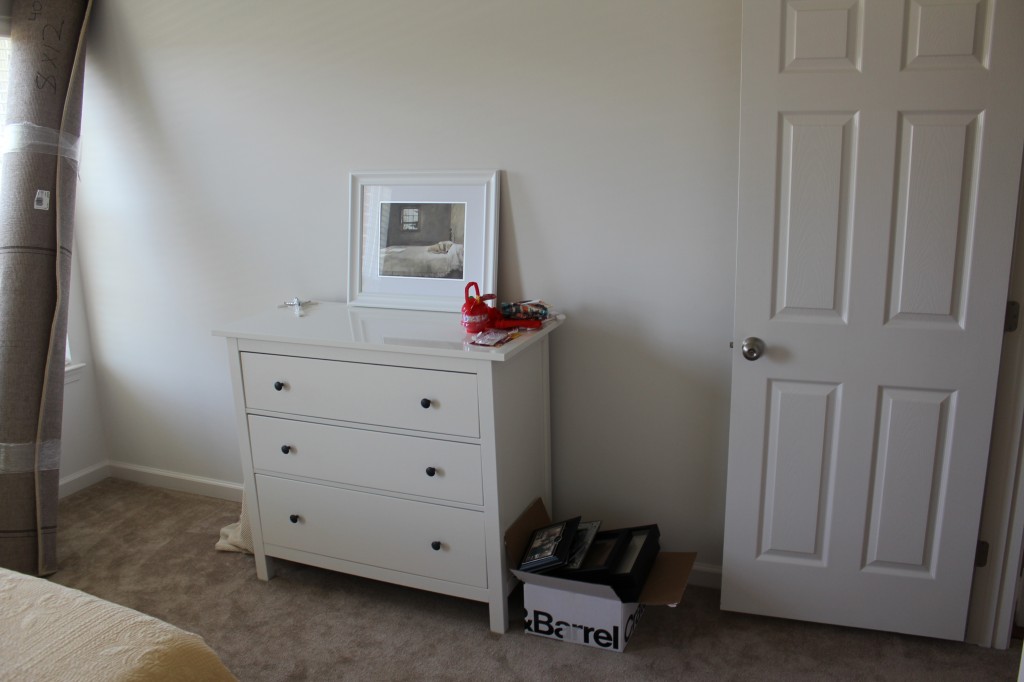
I believe the dressers are from the same set, although I couldn’t name it off the top of my head. Since they are only a few years old, they’ve held up fairly well. You can probably tell that when we don’t have company over, this room is sort of a catch all. We’re working on that a little at a time though. That large carpet roll in the corner is the other half of the wall to wall carpet we had made into an area rug. We haven’t decided on a paint color yet and since we haven’t even painted the master bedroom, the master bathroom, the powder room, etc… we aren’t planning on painting the guest room anytime soon!
The ceiling fan we’re installing is a Bellevue made by Harbor Breeze. It’s a very simple five blade, white ceiling fan. It’s the same fan that’s in the nursery. We like it because it’s simple… it doesn’t require a lot of thinking or coordinating, it just works well with the rooms.
Installing these fans is a real breeze… (ba da ching). Terrible pun, I know. Sorry. Actually, what makes this a lot easier, is when we built our house, we opted to put in a lighting box in each bedroom ceiling. We had to pay a little extra for that option, but it means that we won’t have to fish wire through the ceiling or any of that nonsense. If you’ve ever done that, you know it’s a PIA. A little planning on our part saved us me a ton of time.
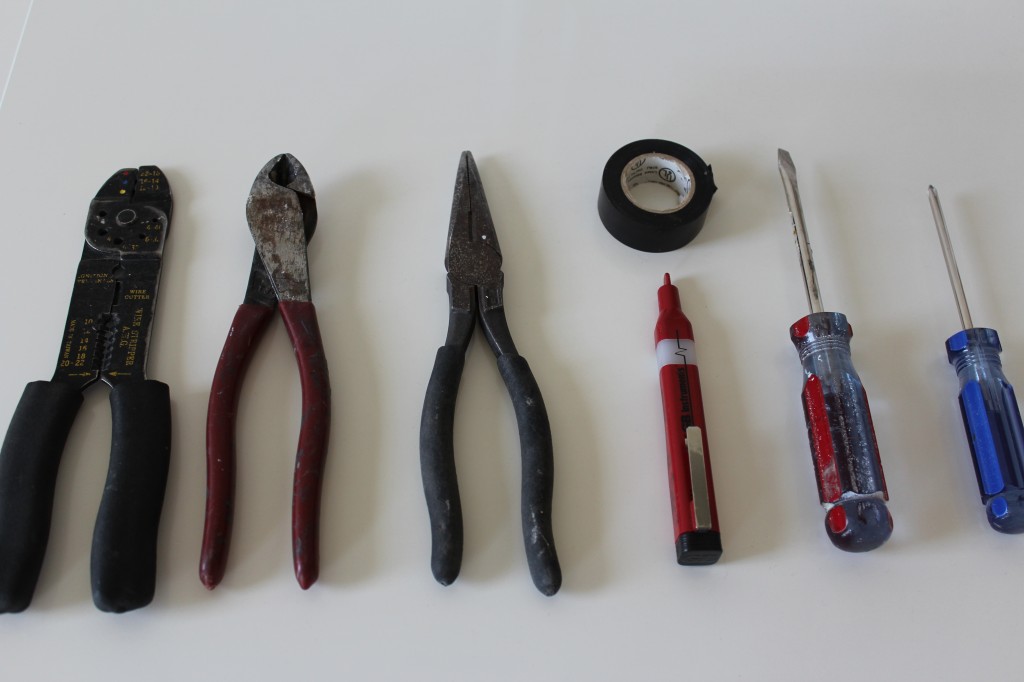
To install this fan, I used a basic set of tools that most homeowners should own (if you don’t own them yet, plan on getting them, trust me). They are, from left to right: a pair of wire strippers, wire cutters, needle nose pliers, a current detector, electrical tape, a flat head and a phillip’s head screw driver.

I’m going to refer you to the directions included in the fan box for specifics on how to install a ceiling fan as I’m avoiding specific electrical instructions. For ceiling fans, the gist of it is the number of conductors. Ideally, you should have a black, a red, a white and a bare copper ground wire in your ceiling box. If you don’t have the red wire, you’re probably going to have to relinquish control of the fan/lighting to the pull cords on the fan itself as you’ll only have use of one wall switch at that point. If you have the additional red wire, then you can have two wall switches; one for the fan and one for the light.
The body of the fan can be pretty awkward to hold up in the air while you try to wire it together. For the guest room, I had Lisa hold it up, while I made the connections. For the second fan, I just used some zip ties to hold the fan up. It made it much, much easier.
The only part of this installation I truly hate is fastening the light to the ceiling. The holes tend to not line up well for some reason.
It’s definitely worth any aggravation though! This ceiling fan installation really helps keep the air moving upstairs even with central air conditioning.
So how are you beating the heat?