Happy 2014!! We’re back. Cue the theme music.
A few weeks ago, I finished up my last grad school course and headed into the holidays ready to take some much needed time off. Consequently, we decided to take a blog vacation until the holidays were over. Hope you missed us.
This past week, we kicked-off our Home Office improvement project. We already discussed some of the layouts we’re considering in a previous post, but after New Years we put our plans in motion and started the job.
The first order of business was to remove everything from the room, rip out the carpet and install hardwood flooring. We considered building the furniture first and then doing the flooring, but some of our readers chimed in and suggested that getting the floors in first would be the smarter move. We concurred.
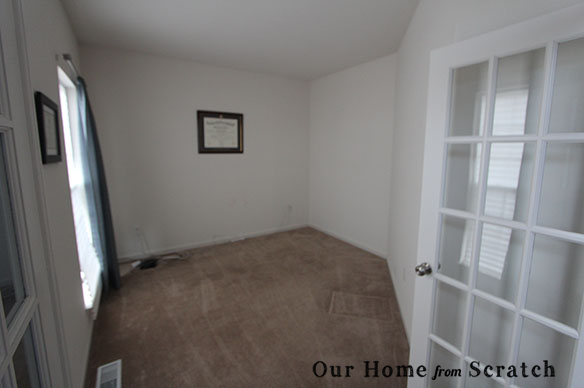
Here’s how the room looked before we started:

With all the stuff removed:
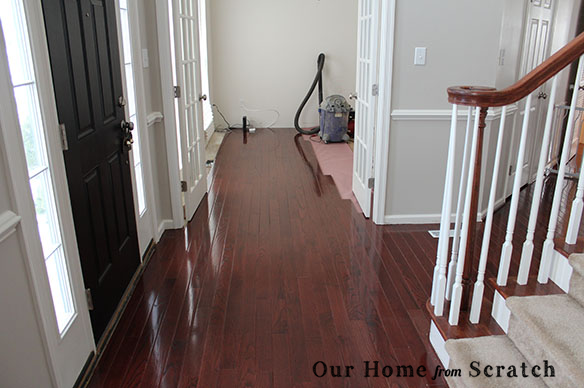
As far as the hardwood flooring goes, we had the option of just starting the install at the threshold where the carpet meets the vestibule OR we could rip out some of the vestibule flooring and tie it into the existing flooring. Going into the vestibule makes the floor look like it was always there. It’s significantly harder and much more time consuming. Guess what option we picked??
Yep.
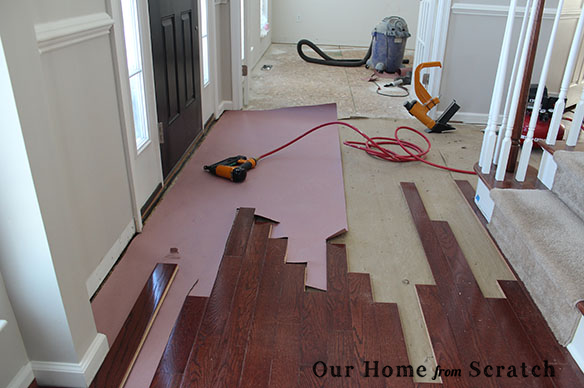
To be honest, the existing vestibule floor had some fading from sun damage and it never really matched the floor we added in the living room. What can I say, we’re picky. It wasn’t much more money to pop for the wood for the vestibule since we already bought a bunch for the office. BTW, you can stop sun damage on flooring by installing UV window film.
You might expect us to write a long, detailed how-to post on hardwood floor installation, but we already did that a couple of years ago, so we’re skipping it this time. If you’re interested in that content, check out our posts on carpet removal and flooring installation, integrating new hardwood into old hardwood and our collection of lessons learned.
We are going to release a quick video on removing hardwood floor. Expect that in our next post.
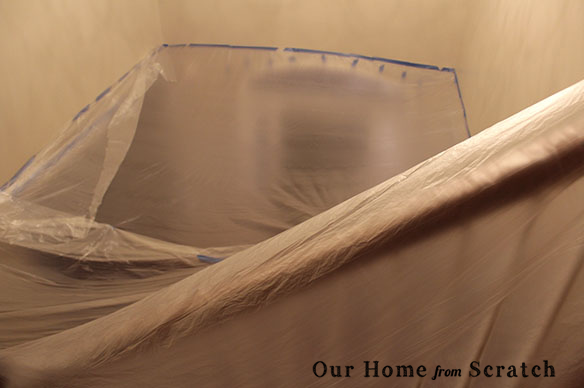
Ripping out flooring is a dirty, dirty process. To ensure we didn’t have everything in the house covered with sawdust, we encapsulated the entire vestibule in plastic tarp.
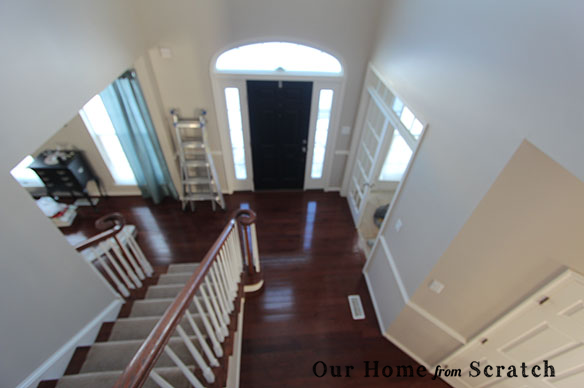
Here’s before shot…
and here’s the same room with plastic tarp… looks like something out of ET.
So after a couple days of work, we finished the hardwood in the vestibule. We still have several more hours to go to wrap up the flooring in the office.
We’re getting there.
In an upcoming post, I’m going to breakdown the entire process we have planned for the office improvement. Resetting a room from scratch can be intimidating and I want to show our readers how to get from A to Z. As always, we want this room series to be a learning experience if you’re looking for it.


