***Plans for this Table Saw Station are now available on our Plans Page. To get access, simply sign-up for our free newsletter***
“Let’s start over.”
That’s what I said to myself a couple of days ago. In case you missed it, I built the top to my table saw work station out of 2x4s. I was planning on building the rest of it out of 2x4s too and while I was reasonably satisfied with the results so far, I DID run into some warped and twisted boards. That’s going to happen when you work with framing lumber. It’s just the way it is. It’s not intended for tight tolerances or fine furniture. It’s for framing houses, which is why it’s called framing lumber.
The same day I published last week’s post I got an email from one of our awesome subscribers, Rick. I could tell right away Rick knows his stuff. Rick was honest, experienced and suggested I not use 2x4s for this project since my intention is to make a fairly accurate table saw station. Accurate cuts are obviously important and having a table top made from 2x4s doesn’t help. Rick suggested I use planed and cut hardwood boards instead. Planed hardwood boards, like maple or oak, will be much more stable and less prone to warping or twisting and will therefore provide a much higher quality product.
As soon as I read Rick’s email, I knew he was right, but I dithered. I was telling myself that I already spent around $20 on 2x4s and I’m sure it would turn out okay. I was lying to myself. I kindly replied to Rick that he was right, but I had already purchased a whopping $20 worth of wood and I didn’t want to invest in the hardwood upgrade.
I’m also stubborn.
After thinking about it for a few days, I realized that I MIGHT actually have enough leftover plywood from some previous projects that I could build the entire table over again. After all, I had only built the top and it probably only took me an hour. I checked my inventory (my giant pile of scraps on the basement floor) and sure enough, I had enough for maybe 80% of the table. Okay. I could do this.
Let’s start over.
If you’re not a regular woodworker or are just getting into this sort of thing, plywood is actually more dimensionally stable then hardwood and MUCH more stable than 2x4s or framing lumber. The reason is it’s a board made from thinner laminations of hardwood where the grain alternates directions from one layer to the next. Consequently, it’s much less likely to suffer from twists, cups or any of those annoying features that is common in framing lumber. Plywood is perfect for shelves, cabinets and all sorts of carpentry projects where stability is important (like my garage shoe organizer). It’s also cheaper than hardwood. Not quite as pretty, but cheaper.
So big thank you to Rick for reminding me that it was worth taking the time to do this project correctly. I owe you a beer.
Anyway, I re-built the top out of plywood. You probably can’t tell from the photo, but it’s a much better product.
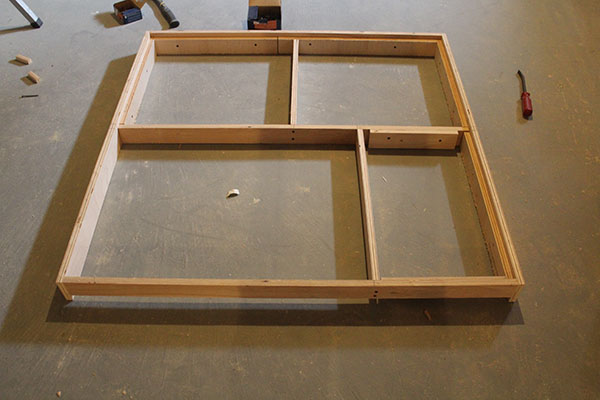
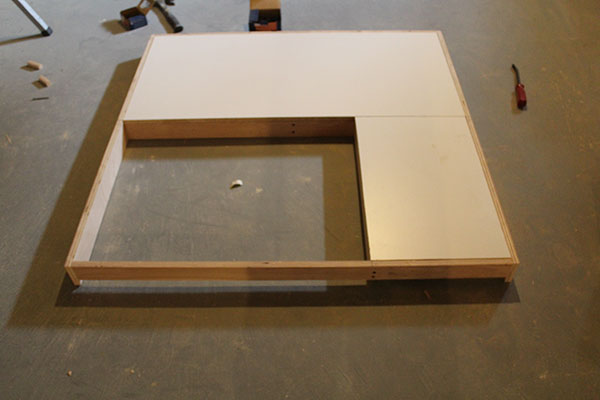
This is pretty much where we left off last time. I then cut out the melamine for the work surface. The open area is where the table saw will be located. I didn’t permanently install the melamine yet since it would just get in the way during the rest of the build.
Now for the legs. Just a couple of plywood boards with pocket screws.
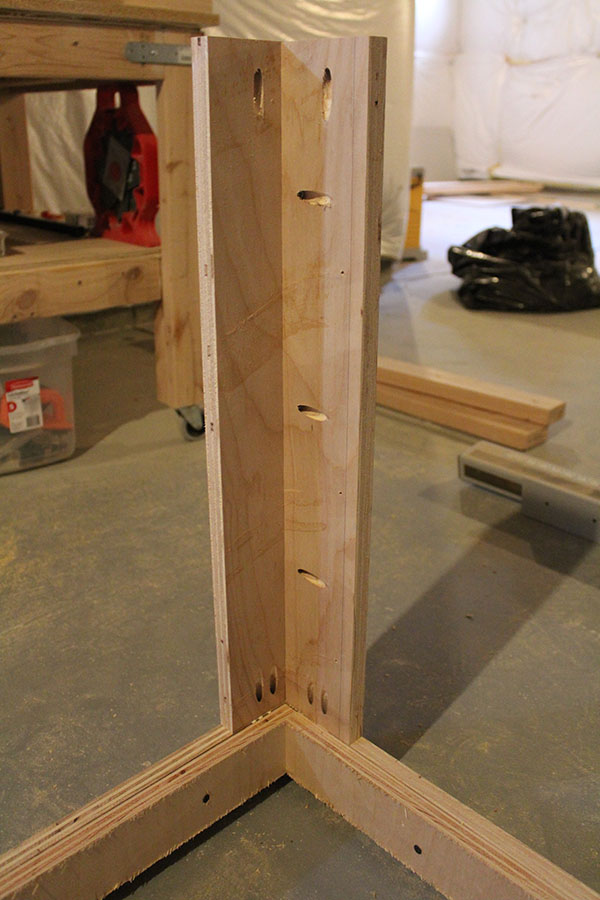
I topped them off with a couple of small plywood pieces for the wheels.
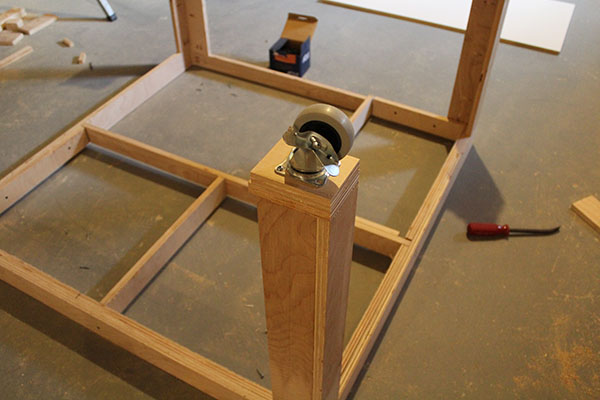
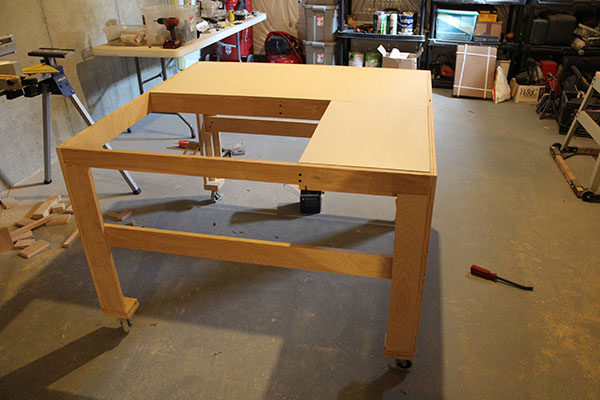
Flipping it back over, I threw on some cross braces, which is where the table saw will ultimately be located.
That’s it for this post. In our next post I’ll finish the build and setup the fence.
Ever start a project over after realizing you could’ve done better? Leave a comment below and explain yourself.


