In this post, you’ll learn
– How to build shaker cabinet doors with a router
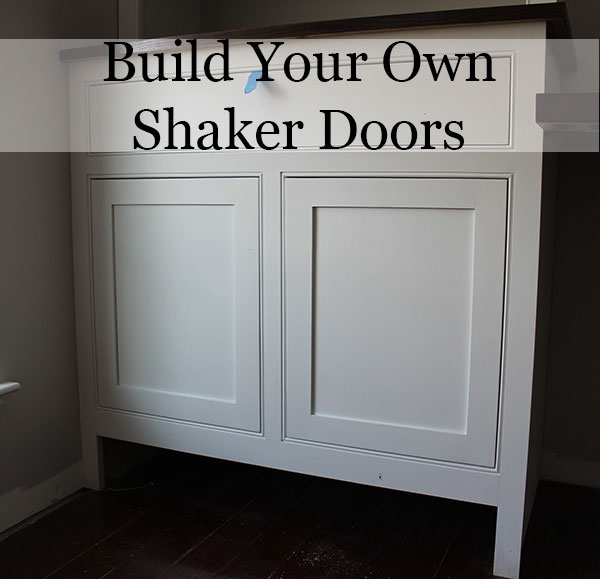
– How to inset the doors into a face frame for a high end look
If you’ve been reading this blog for a while, then you’ve probably seen me write about building shaker cabinet doors before. I’ve built them for both my large built-in cabinet, the TV stand and they were the same style doors I built for our first home. Last year, I filmed one of my first how-to videos on how to make them. To date, that video has over 140,000 views and is by far my most popular. In that video, which you can see here, I primarily used a table saw to cut the tongue and groove joints for the doors. Even the center panel was machined using a table saw.
In this new version, I’m only using a router table for the tongue and groove joints and the center panel. I thought it would be worth trying something new and see what works better. I’ll probably put together a third video at some point to illustrate what combination of tools and techniques are easiest and provide the best results.
Since these doors are also inset into the face frame, I also used this opportunity to try a new technique for setting the inset gap. In the first video, I just built the doors to the finished dimensions, which was a challenge. In this new version, I built the doors a bit larger and shaved them down to the final size. It ended up being much easier than I thought.
So here’s the video. Let me know if you have any comments or questions!
Oh and by the way, if you don’t want the doors inset and instead you just want them to be full overlay, that’s much easier. Just build the doors 1-1/2″ wider and longer than the door opening. You also won’t need to trim them once you’re done.
If you can’t see the video window, you can click this link to take you right to YouTube.


