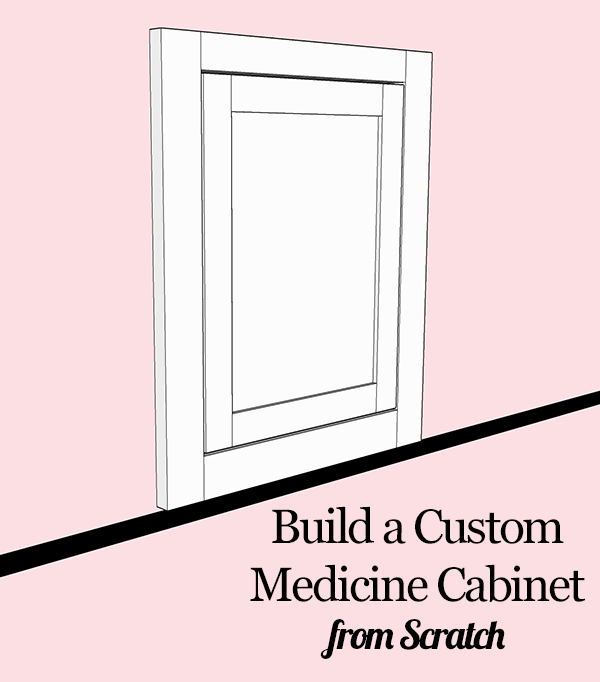
In this post you’ll learn:
– The first steps to build a medicine cabinet
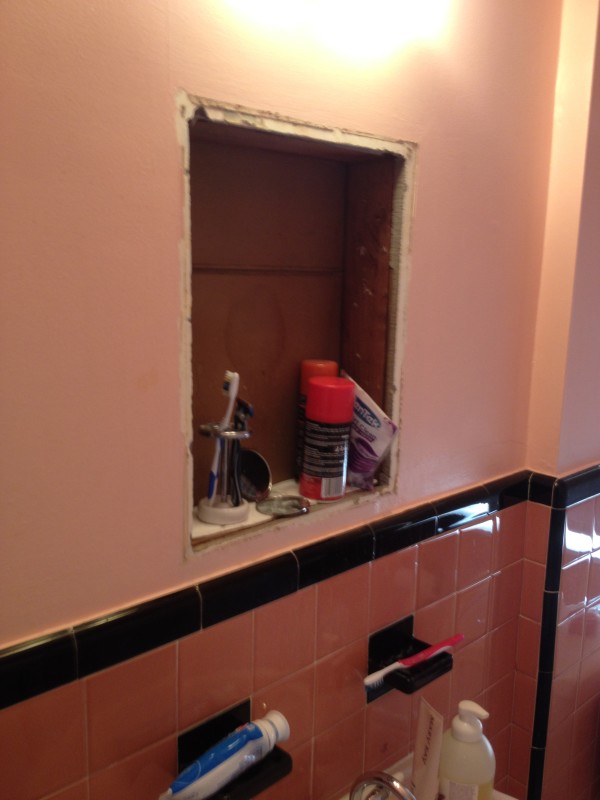
For a few years now I’ve been itching to build a medicine cabinet. I’m not really sure why. I guess I never liked the idea of paying a couple hundred bucks for a small painted box. They’re pretty simple after all. I had thought about building one for my first house, but I never got around to it. So when I noticed my sister and her husband were making some upgrades around their house I offered to build them one, especially since they had already ripped their old one out. They have a 1950’s bathroom with most of the original features and it’s in pretty good condition. When I was over for the holidays they were using the space where the old medicine cabinet had been.
For this project, I pitched a few different designs to them. They settled on a variation of a Restoration Hardware cabinet, more specifically, the Cartwright model. We’re going to keep the overall scale and hardware, but skip the crown molding. It’ll be a little more plain, but should blend in better with the existing decor.
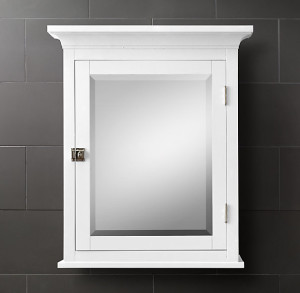
(via Restoration Hardware)
This is how this project is going to work. In this post we’re going to discuss the design, dimensioning, material and some of the other critical elements. Then in our next medicine cabinet post, we’ll show a video on how to actually build the cabinet. I would like to keep this series down to two or three posts at most. If you’d like to read a more in-depth cabinet building series, you can check out our work on the TV stand we did a while ago.
Allright? Ready to get started? Let’s build a medicine cabinet!
Let’s start with the existing space. There’s obviously a hole in the wall. The medicine cabinet we’re going to build will recess into that hole. A recessed cabinet will be a big space saver and they won’t need to patch the walls. All I need to get started dimensioning the cabinet now are the dimensions of the hole in the wall. I marked up the photo of the room and emailed it to my sister for her to take some measurements.
Here’s what I emailed her:
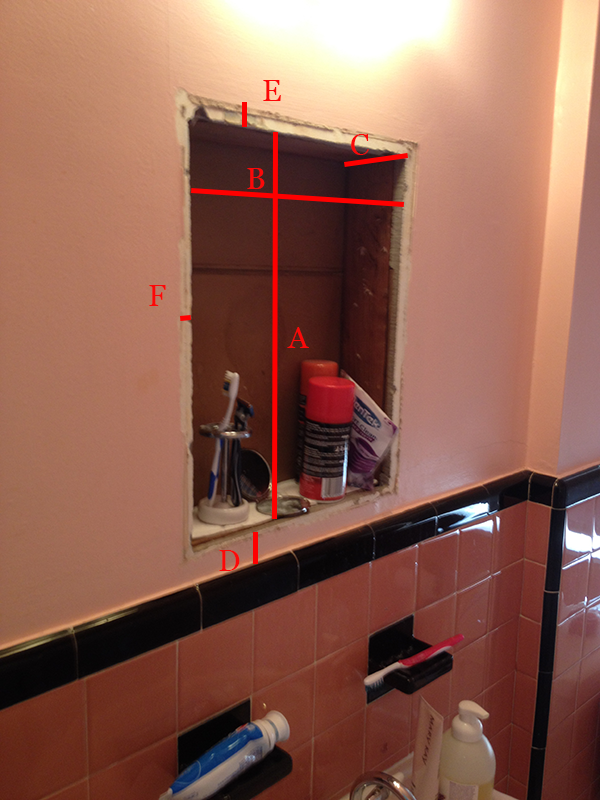
I asked her to provide me a dimension for each one of those letters. For the opening width and height, which are letters A and B, I asked her to take measurements at three locations: the left, right and middle (or top, middle and bottom). I want the smallest of those three dimensions. If I asked her for just the width and it turns out that the hole is slightly wider at the top than the bottom, then I could end up building the cabinet too large. I want to make sure it will fit so we’ll build to the smallest width and the smallest height.
Since the wall is plaster and has some left over markings from the previous cabinet, I’d like the new cabinet to hide those markings. So by asking for dimensions E and F, I can figure out how big the frame needs to be to cover that stuff. The measurement at point D is the distance to the top of the wall tile. I want to make sure the cabinet doesn’t touch it.
My sister took all those measurements and emailed them back to me.
At this point, I can start figuring out what the design will look like, how it will be built and how big each piece should be. If you’re comfortable drawing this out on paper, you could use that approach. Personally, I’m a big fan of SketchUp, so I prefer to draw my cabinets in that program. While it’s fairly easy to use, it also has the added advantage of allowing me to show you nice rendered images of the design.
I started the drawing by sketching out a plain wall with a hole in it. Then I gave the wall some thickness. With that part out of the way, I drew a basic four sided box, which will be the insides of the medicine cabinet.
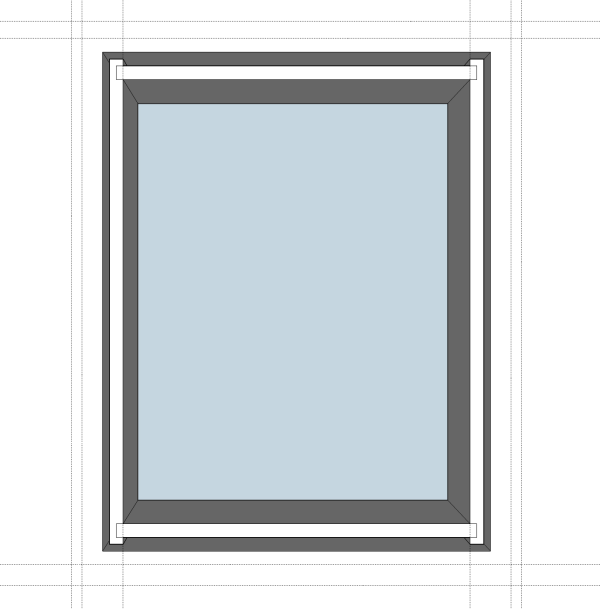
You can see I left some space around all four sides of the box; about a 1/4″. The depth of the box is also 1/4″ shorter than the depth of the hole. Too small is probably OK. Too big is going to be a problem. You can see from the illustration that the box bottom and top will be assembled together using grooves in the box sides. I didn’t draw a back piece, but you can just figure out its dimensions from these four pieces. SketchUp has a tape measure tool, so after I had all four pieces drawn I could measure the dimensions of each one and write them down.
After the box parts were drawn and dimensioned, I turned my attention to the face frame. The face frame will be attached to the box and will cover the open area around the box and also part of the wall. Here’s what that frame looks like attached to the box.
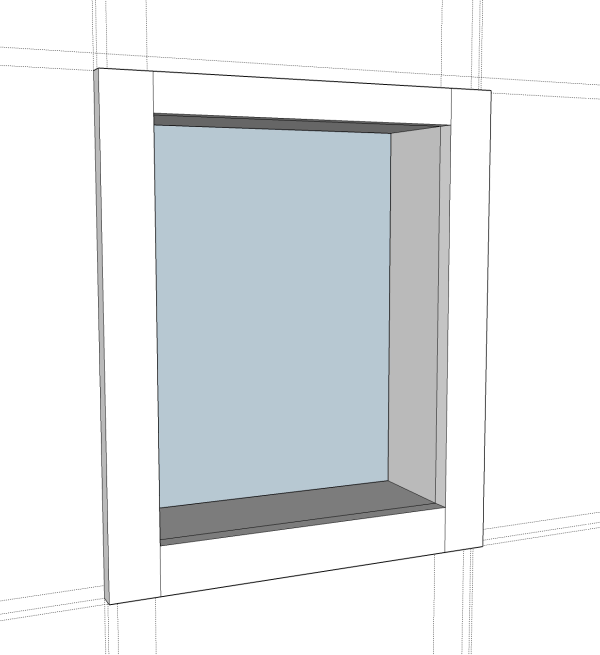
The frame consists of a top and bottom rail board and two stile (aka side) boards. The face frame will be assembled using pocket screws and it’ll be probably be attached to the box using pocket screws as well. Pretty straight forward construction.
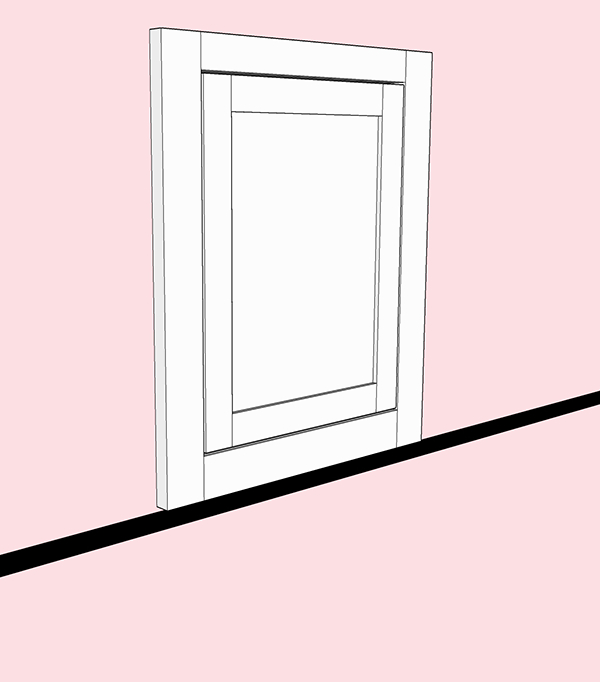
Now onto the door. The door will be inset into the frame of the door, just like in the Restoration Hardware design. Inset screams custom and it’s pretty much the only doors I like to build!! They’re also pretty easy to make. I’m going to draw the doors with a 1/8″ gap all the way around, just for the sake of the image, but in reality, I’ll make them the same size as the opening and then gently trim them down to their final size.
For the sake of clarity, I’ve dressed up the SketchUp drawing with a tile lip and some pink walls to match the photo. I didn’t draw any hardware or a beveled mirror, although I’m sure you could do that if you wanted to.
With the door drawn, I’ll write down the dimensions. I’ll need to order a mirror and glass shelves as well, but I’ll get more into that in the next video post. It’s also important to think about what sort of hinges or latch hardware will be required and to order it all in advance. The box material will be birch plywood and the frame and door will be made from poplar. While there are a lot of material options to choose from, I happen to have a lot of poplar and birch plywood laying around my shop. Should be able to build most of it with scrap wood!
That’s it for this post. Hopefully you have a solid understanding of how I sized the cabinet and where we’re going from here.
Thanks and stay tuned.
Feel free to ask any questions in the comments and please share this post if you enjoyed it.


