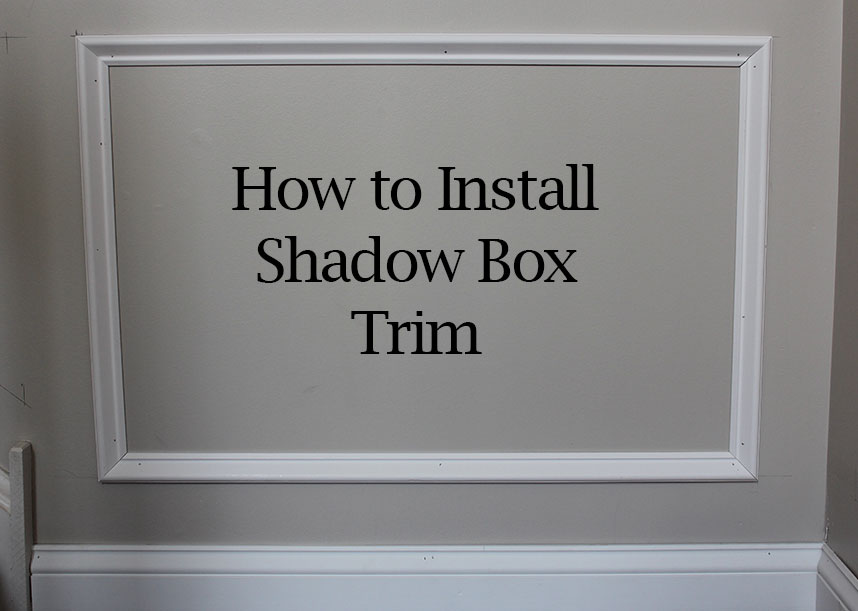
In today’s post, you’ll learn
– How to Install Shadow Box Trim
It’s been a while since we’ve finished any home improvement projects and although, this latest one is pretty quick and simple, it feels great to wrap up another project nonetheless. Lisa and I had been planning on adding some sort of decor or charm to our front entry for some time now and we settled on shadow box trim since it looks great and won’t break the bank. Between paint and trim (both chair rail and base cap molding), we probably spend around $150.
To make this tutorial even easier, I put together a video for you to help demonstrate the process. Check it out:
(Click here if you don’t see the video to be redirected to YouTube)
Here’s what tools you’ll need for this shadow box molding project:
– Base Cap Molding
– Miter Saw
– Tape Measure
– Brad Nailer
– Adhesive Caulk
– Nail Sets
– Painter’s Caulk
– Wood Filler
I wrote a how-to post for eHow.com, which explains this whole process in written form along with an explanation for the angle cuts on the stairs. You can read that post here.
There are a couple things to keep in mind when you are thinking about installing shadow box trim. For starters, when you are trying to plan the layout and figure out how many boxes and how big each one should be, smaller walls should only get one box. Longer walls can get more than one, but try to get an odd number as odd numbers tend to look better, although we weren’t able to squeeze in odd numbers on our walls.
You’re also going to need some sort of top cap like a chair rail molding before you install the shadow box trim. Luckily, we have a post and a video on how to install chair rail, which you can check out first.
If you have any questions, don’t hesitate to email me or leave a comment on this post OR on the YouTube video.
If you think my shadow box trim looks good, do me a favor and share this post.
Thanks!
This post contains Amazon Affiliate links.