Back to life, back to reality (Thanks Soul II Soul). After taking off five glorious days from work, it’s back to my day job. Oh to be retired at 32. Maybe if this blog thing works out I can retire early, like 70 instead of 72. I know, I know, I’m getting ahead of myself. We hope everyone had a fun holiday!! While we mainly did some home improvement projects to beat the heat (106 in Jersey on Saturday!), we still found some time to relax with family and also squeezed in a quick trip to the shore.
To bring you up to speed on the dining room progress… it’s really coming along. Last week I openly hoped to have the room completed by today. Unfortunately, the last couple tasks took longer than expected and we’re not quite ready to paint it.
We started the holiday break with the dining room looking all clean and polished. We had just finished installing the raised panel MDF sections to the wall.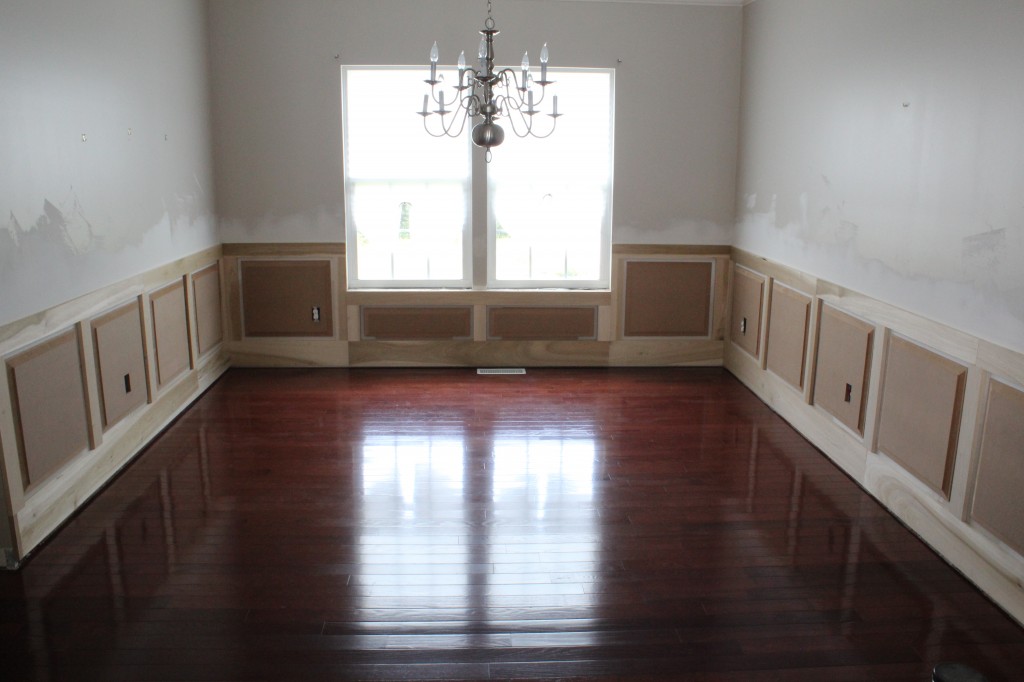
To protect the floor from the torment we were about to unleash in this room we rolled out some rosin paper we had left over from the hardwood floor installation.
It was overlapped and taped down using some blue painters tape.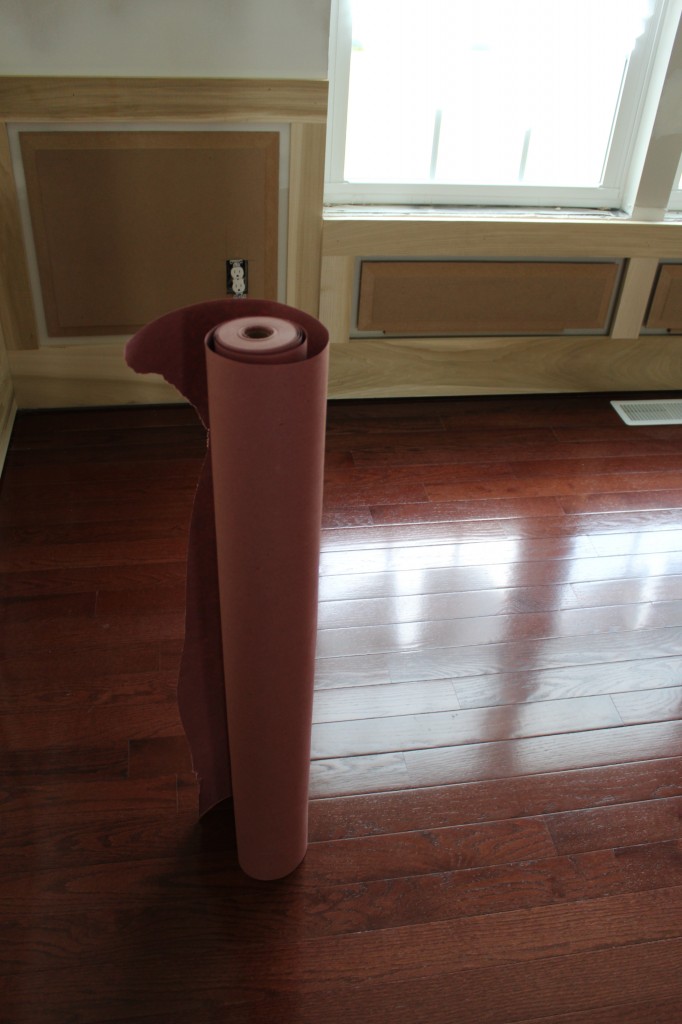
First thing on the agenda: fill all the little nail holes with wood filler and sand. Luckily, I was able to get help from Lisa on this one (jackpot). She’s a whiz (like cheese whiz) with the random orbital sander. The frame saw most of the sanding, but we did do some light sanding on the MDF panels as well.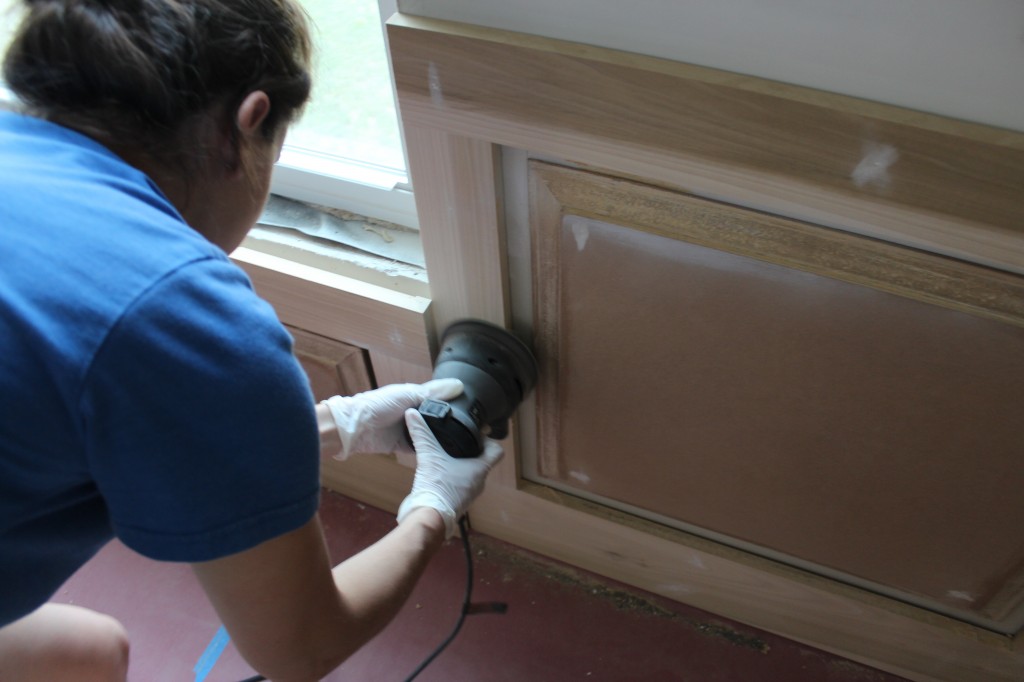
Next up: prep the MDF edges. Since I’m using medium density fiberboard (MDF) instead of solid hardwood for my panel centers, I need to dress up the routed edges before they can be painted. When cut or routed, MDF tends to fuzz up a little wherever it’s cut. That fuzz needs to be smoothed out. Here’s a zoomed in shot if what I’m talking about. You can see the front of the panel is as smooth as glass, and the edges are soft and furry.
Ok, so it’s not crazy-out of control- fuzzy, but you get the idea. To correct this problem, there are a few approaches that may provide some relief. One of them was recommended by Alex from Old Town Home.
The remedy is a mixture of wood glue and water at a 50/50 ratio. It gets applied to the edges, sanded down after it cures and then repeated three times. Sounds easy enough. I’m game.
When mixed the solution feels like a custard…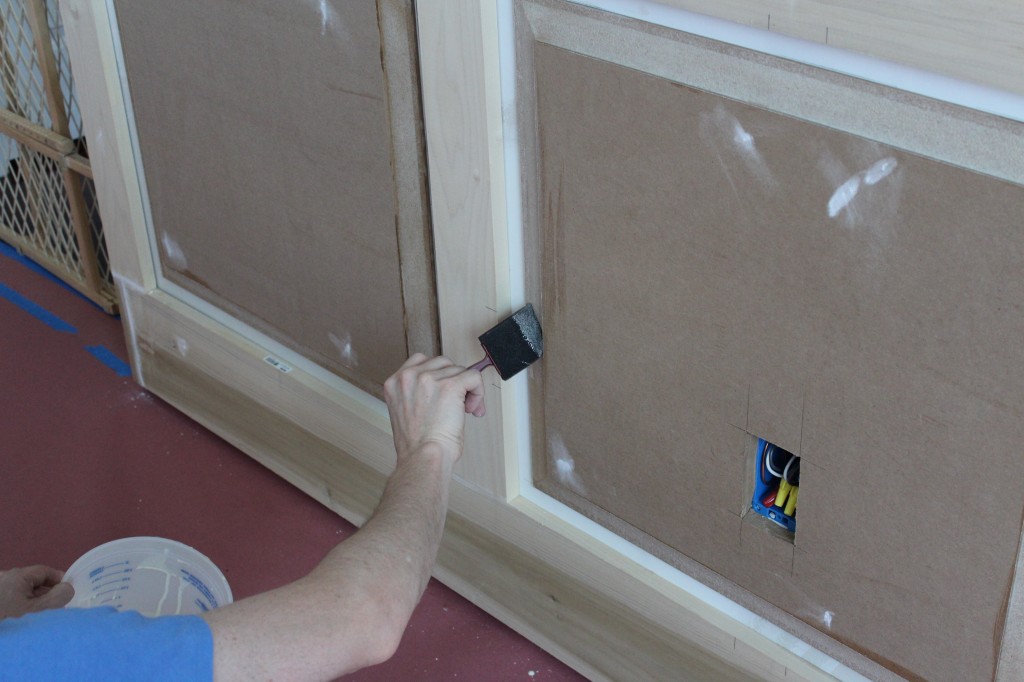
The results: mixed. After two coats of this process with the follow up sanding, the edges hardened up as advertised, but it wasn’t smooth. It actually had a bit of a texture. Texture is going to ruin the smooth look I’m after, so this process didn’t work for me. Moreover, the texture was kind of pitted. Now, I don’t want to throw Alex under the bus, after all, there were several serious woodworkers online that swear by this process. It obviously worked for them. So, why am I so special?? Did I mess something up here?? After thinking about this problem for a while I think I have an idea. I think my slow router speeds may have led to some rougher surface texture. Slow router speeds are recommended for large router bits like the bit I used. Slow speeds though mean rougher cuts. Rougher cuts equal slight material tear outs and a crappier surface in general.
If I had decided to use plain hardwood (like poplar) for these center panels, I wouldn’t have had this problem. Hardwood presents its own issues though. For starters, it’s much more expensive. It’s not wide enough for my needs either, which means I’d have to glue a few of them together for each panel. Then before I glue them, the edges would have to be jointed, they’d all have to be clamped over night, I’d need more clamps yada yada yada. You get the picture. MDF is much cheaper and it’s probably less work anyway. Not always the perfect choice, but for a paint grade project, it’s a no brainer.
After sleeping on it, I took another approach to the texture issue. I figured if I could fill all those little divits with wood filler I’d be in business. So, I thinned out some wood filler with a little bit of water until it was the consistency of a runny hummus and I applied that all over the MDF edges. After it dried, I sanded the edges lightly with a piece of wood block with a sheet of sandpaper wrapped around it. Worked like a charm!!
Here’s a shot of that MDF edge ready for paint (ignore the molding, I’ll get to that in a sec). Do you see all those light brown spots on the MDF edge? Those are divits that the wood filler… er, filled.
With all the edges ready for paint, I could finally start trimming out the panels! The trimming turned out to be a little easier than I had expected. Still a little tricky though and tedious!!! Took forever!! See, the trim that wraps around these panels sits at a bit of an angle. That little angle means it can’t be cut laying flat on a miter saw. It needs to be propped up a bit… you have to cut it like it’s installed.. kinda like crown molding.
To figure out how high to prop the trim up, I need to know how it will sit on the poplar frame and the MDF panel. I can get that height by just measuring the distance between the two. That dimension then becomes the thickness of the prop I’ll need.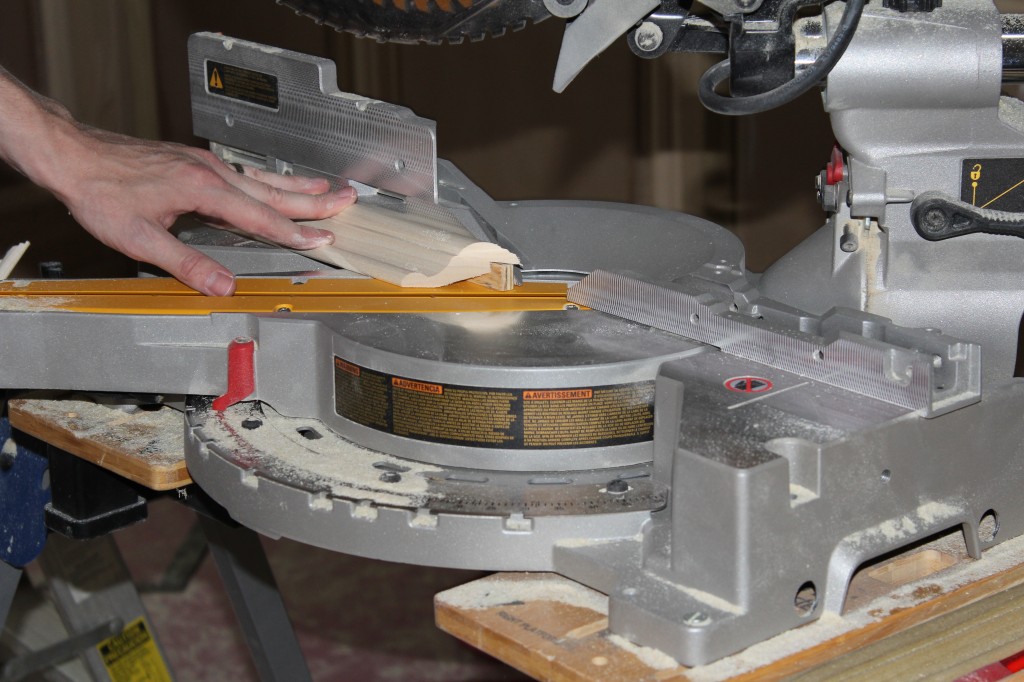
When I was cutting the trim pieces at the miter saw, these prop pieces sat underneath the trim. In the photo below, you can see the plywood prop resting underneath the trim, propping it up.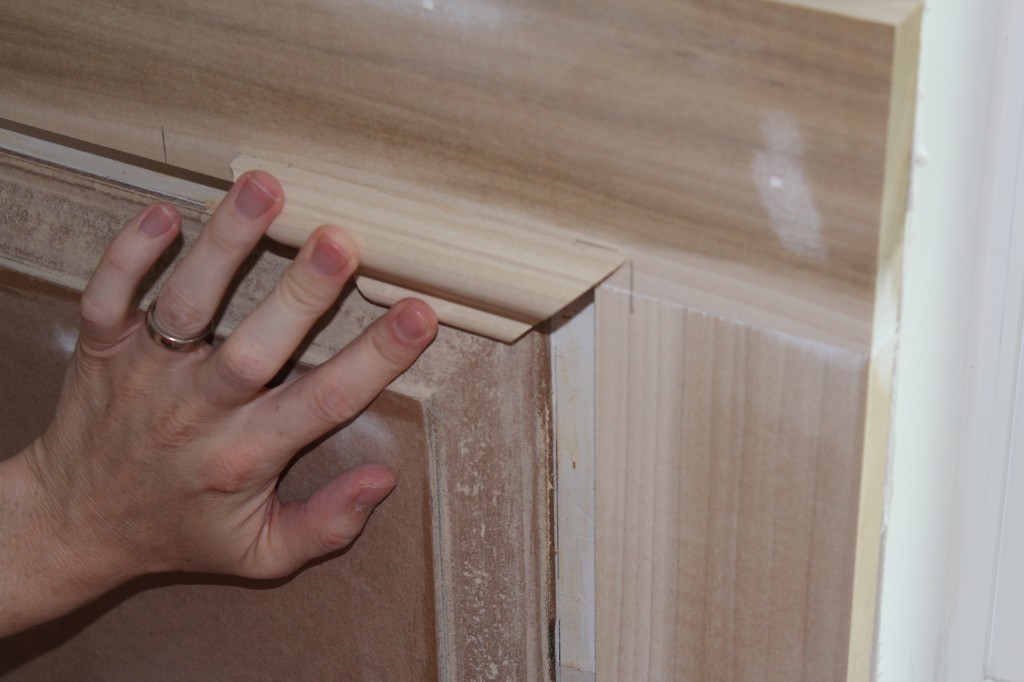
Over at the panels, I used another useful trick that is extremely helpful in all sorts of trim installations. I cut a couple trim pieces out of scrap wood and I used them to help with measuring the trim length needed. They also were a huge help with getting the trim lined up to the next cut section. Working with a small sample piece is good practice for baseboards, window trim, you name it.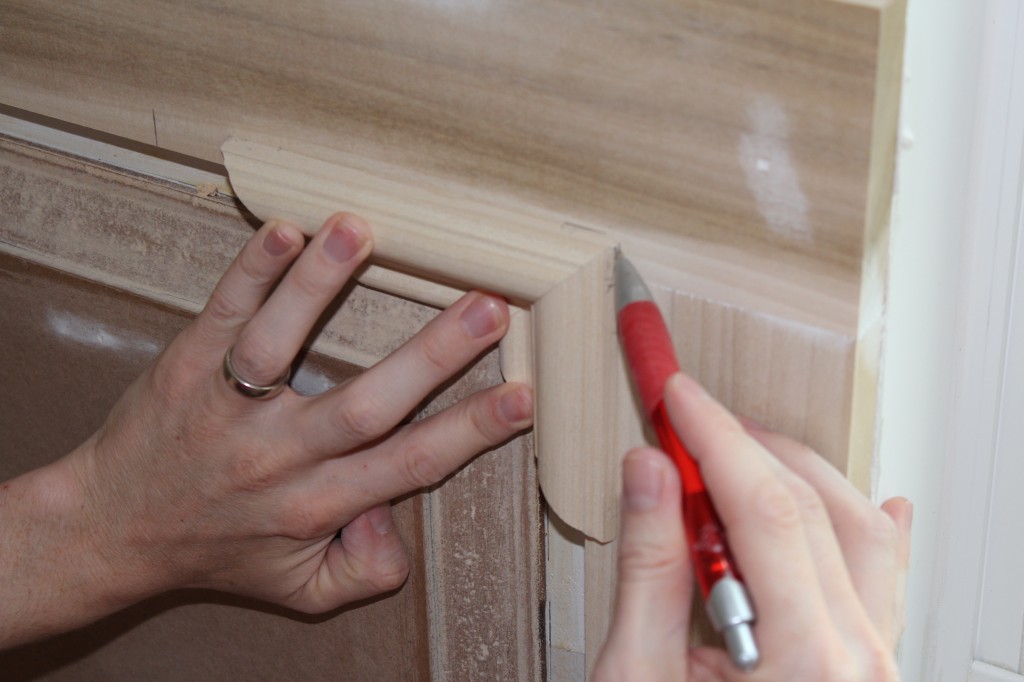
After about 12 hours worth of trim time, the panels are all decked out. To make things go as efficiently as possible, I brought up my miter saw. A miter saw in the dining room means sawdust all over the place. To keep that dust from escaping to the rest of the house, we setup overlapping plastic tarps for an exit door.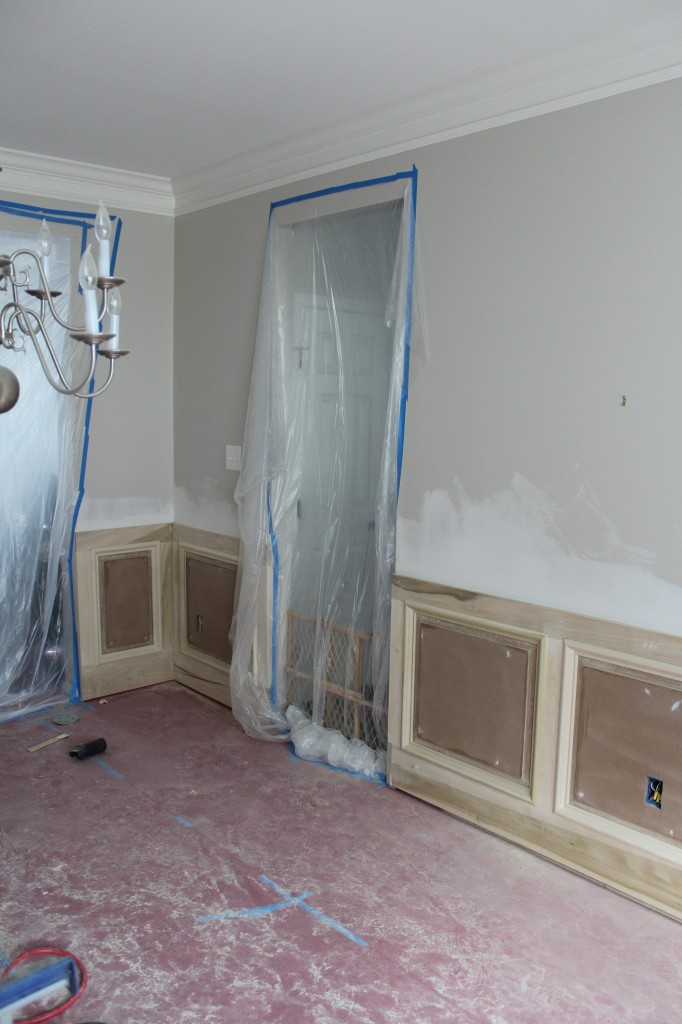
The kitchen was completely sealed off as well. Because food tastes better sans saw dust.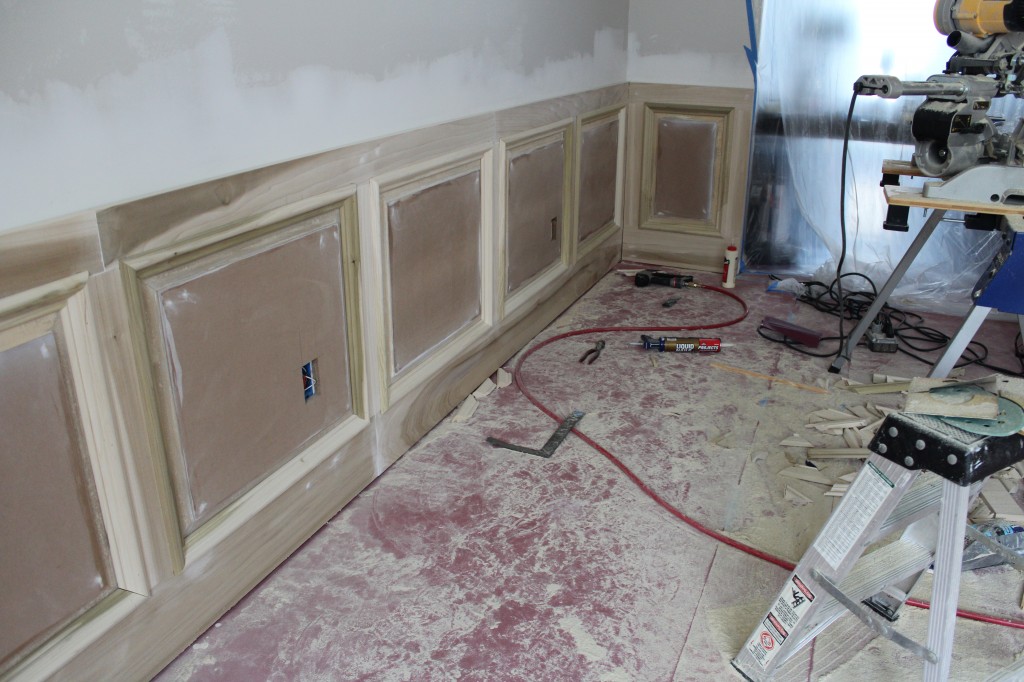
So before we paint, we still have to cap the paneling with some sort of decorative trim. Will hopefully be low-tech and easy to do. Then it’s just caulking and we’re set. Can’t wait!!
So, did you do anything exciting over the 4th holiday? Anyone else stay home for a gratuitous amount of time?